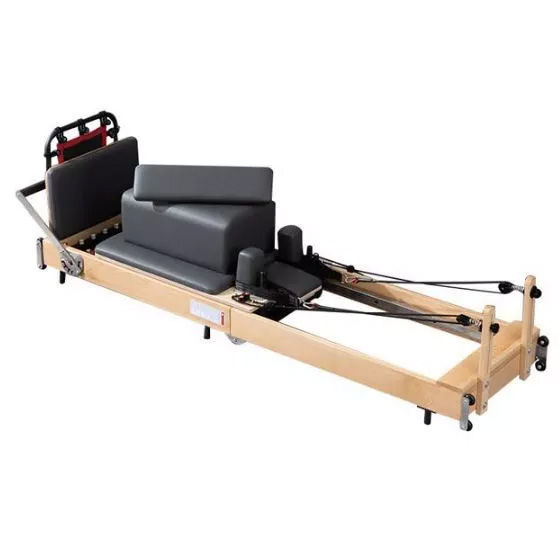
Thank you for choosing the Folding Pilates Reformer machine, a versatile and space-saving solution for your fitness and wellness routine. This reformer comes fully equipped with a footboard, springboard, and box accessories, as well as a unique trampoline jump board for added variety and fun! With six steel springs offering three resistance levels, a foot bar with eight positions, soft PVC leather padding, and a handy storage bag, it combines comfort, durability, and convenience for a professional-grade Pilates experience.
Manufacturer: Monster Group UK Limited, Monster House 19-23 Alan Farnaby Way, Industrial Estate Sheriff Hutton, York YO60 6PG
Person Responsible: Rana Harvey, Monster Group UK Limited, Monster House 19-23 Alan Farnaby Way, Industrial Estate Sheriff Hutton, York YO60 6PG, England, +441347878880
EU
Manufacturer: Monster Group BV, Van Heemskerckweg 28A & B, Venlo 5928LL Netherlands +441347878880
Person Responsible: Rana Harvey, Monster Group BV, Van Heemskerckweg 28A & B, Venlo 5928LL, Netherlands, +44134787888
Materials
1.
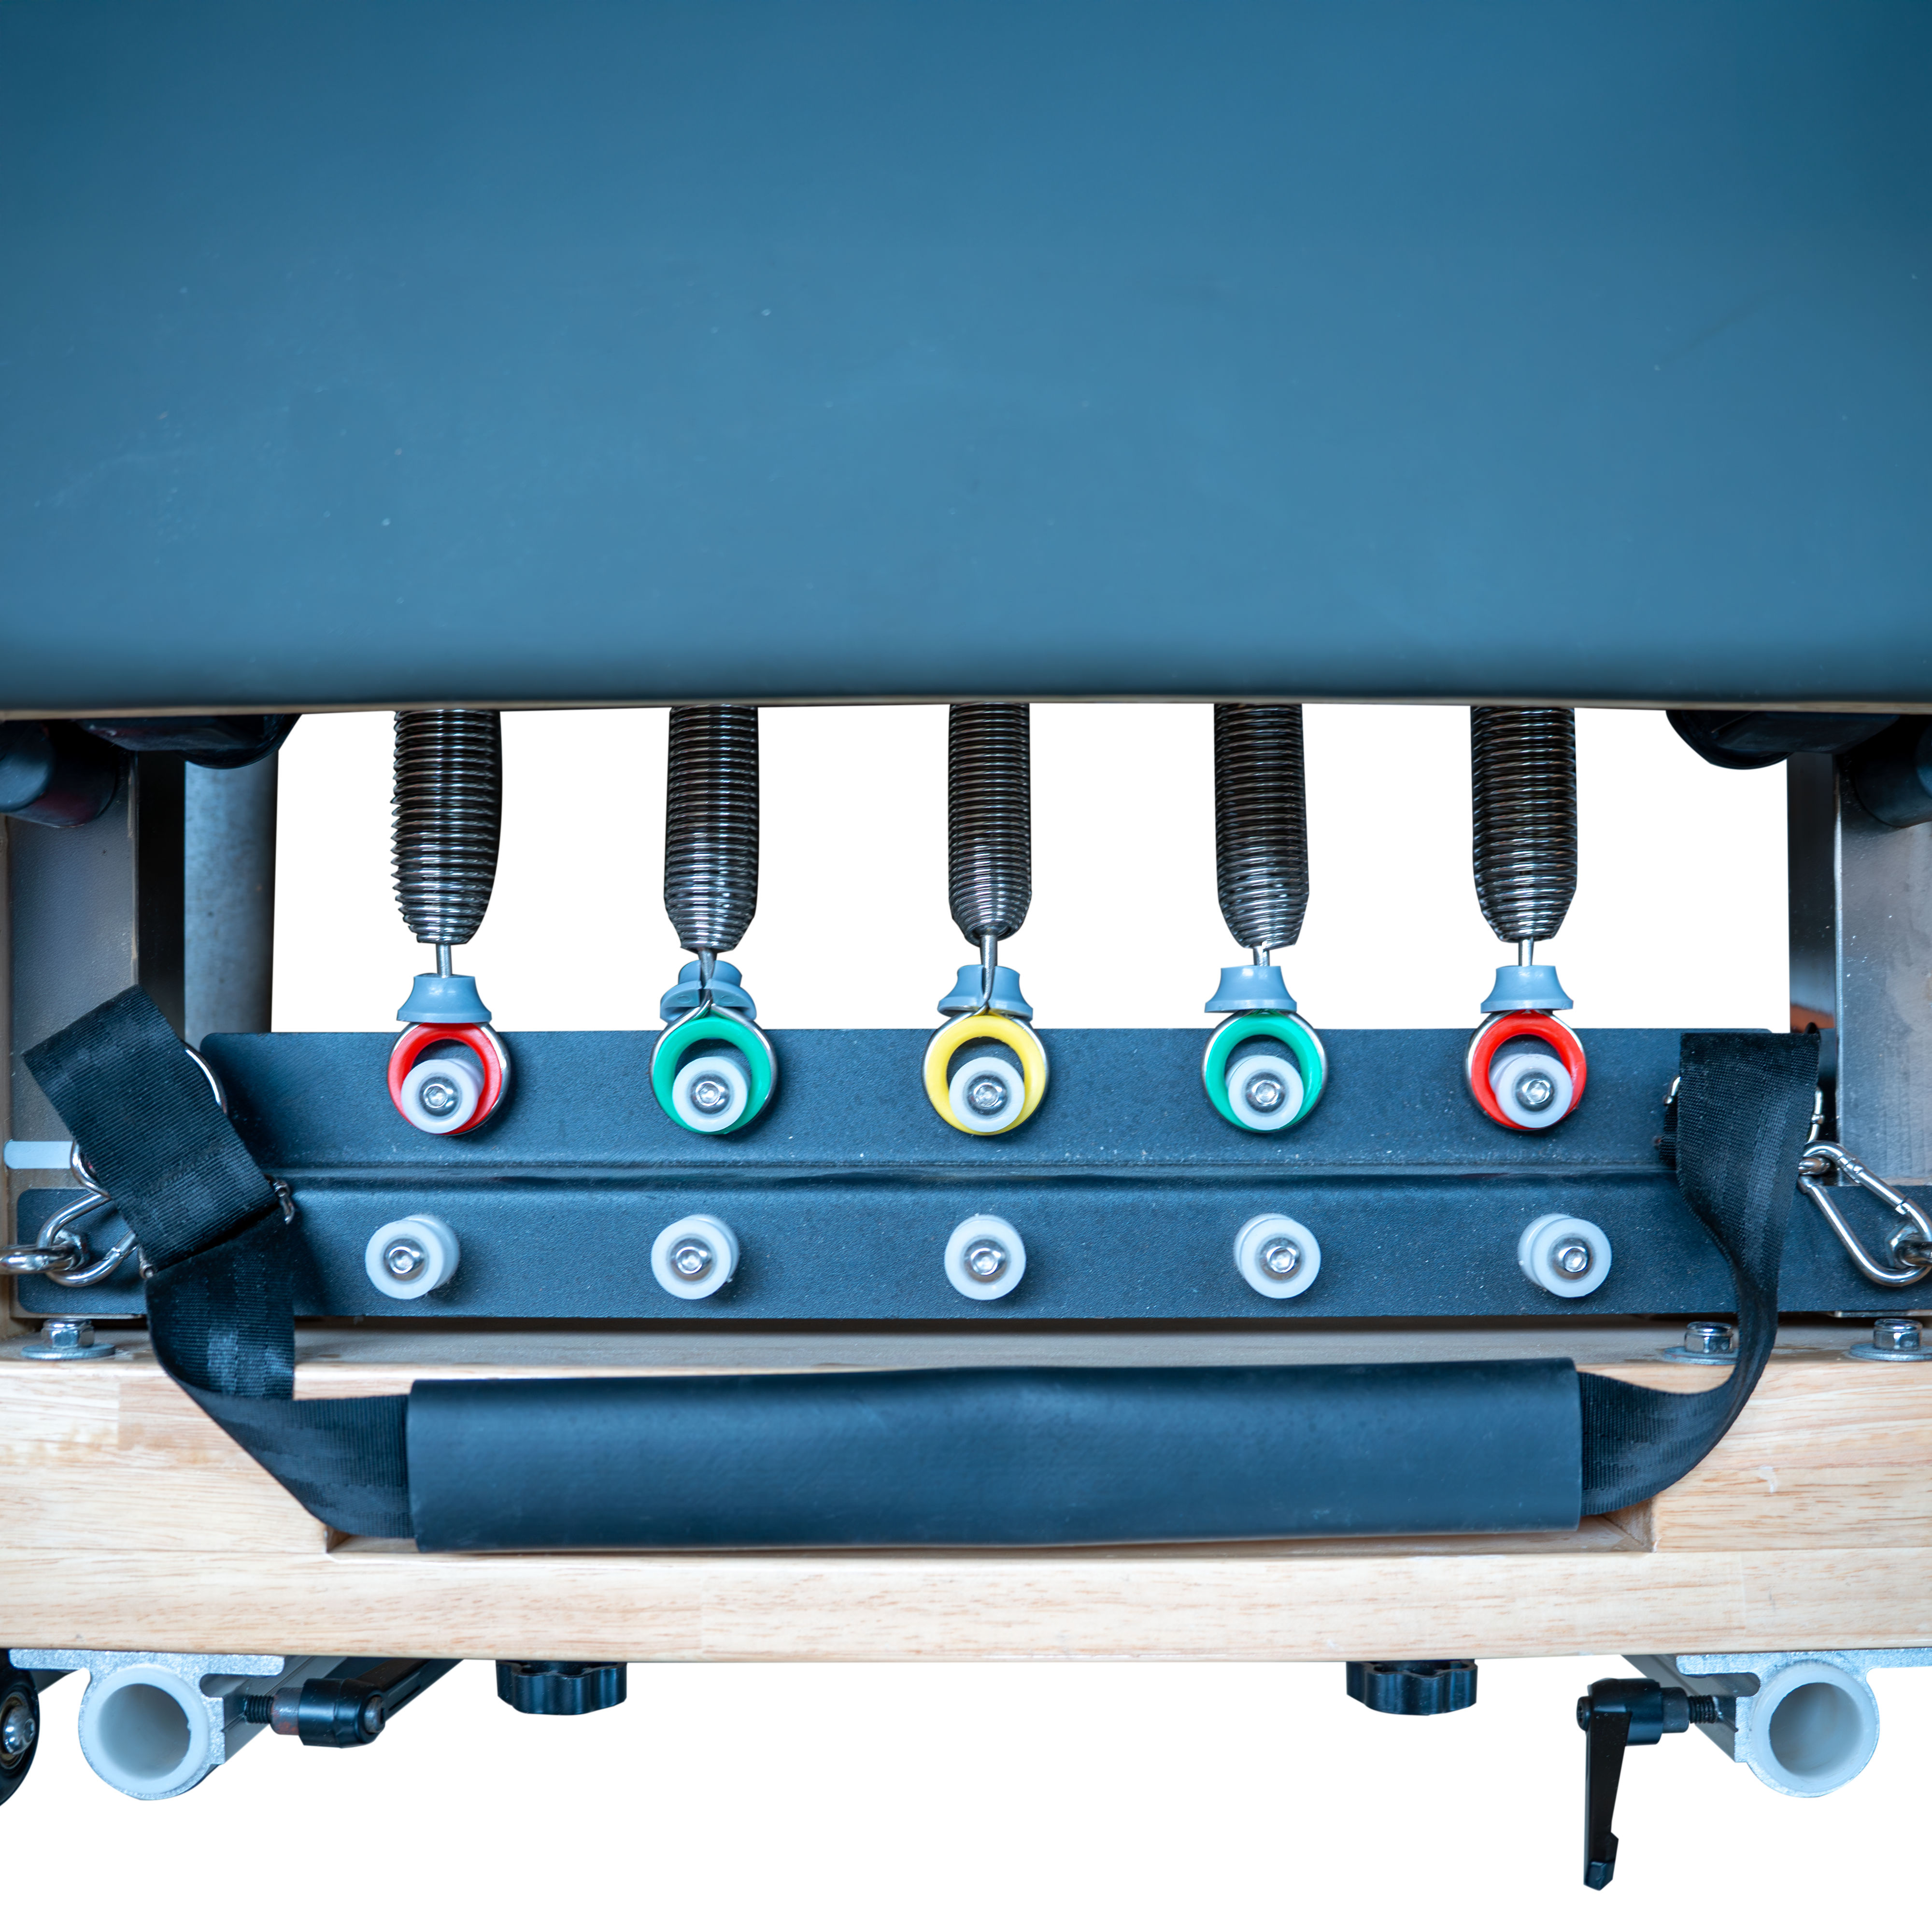
Featuring 5 interchangeable springs for adjustable resistance, add the springs according to your desired resistance level and the image attached:
Colour
Resistance Weight
Resistance Level
Red
28-61lb (13-28kg)
Heavy
Green
12-32lb (5.5-14.5kg)
Medium
Yellow
8-18.5lb (3.7-8.4kg)
Light
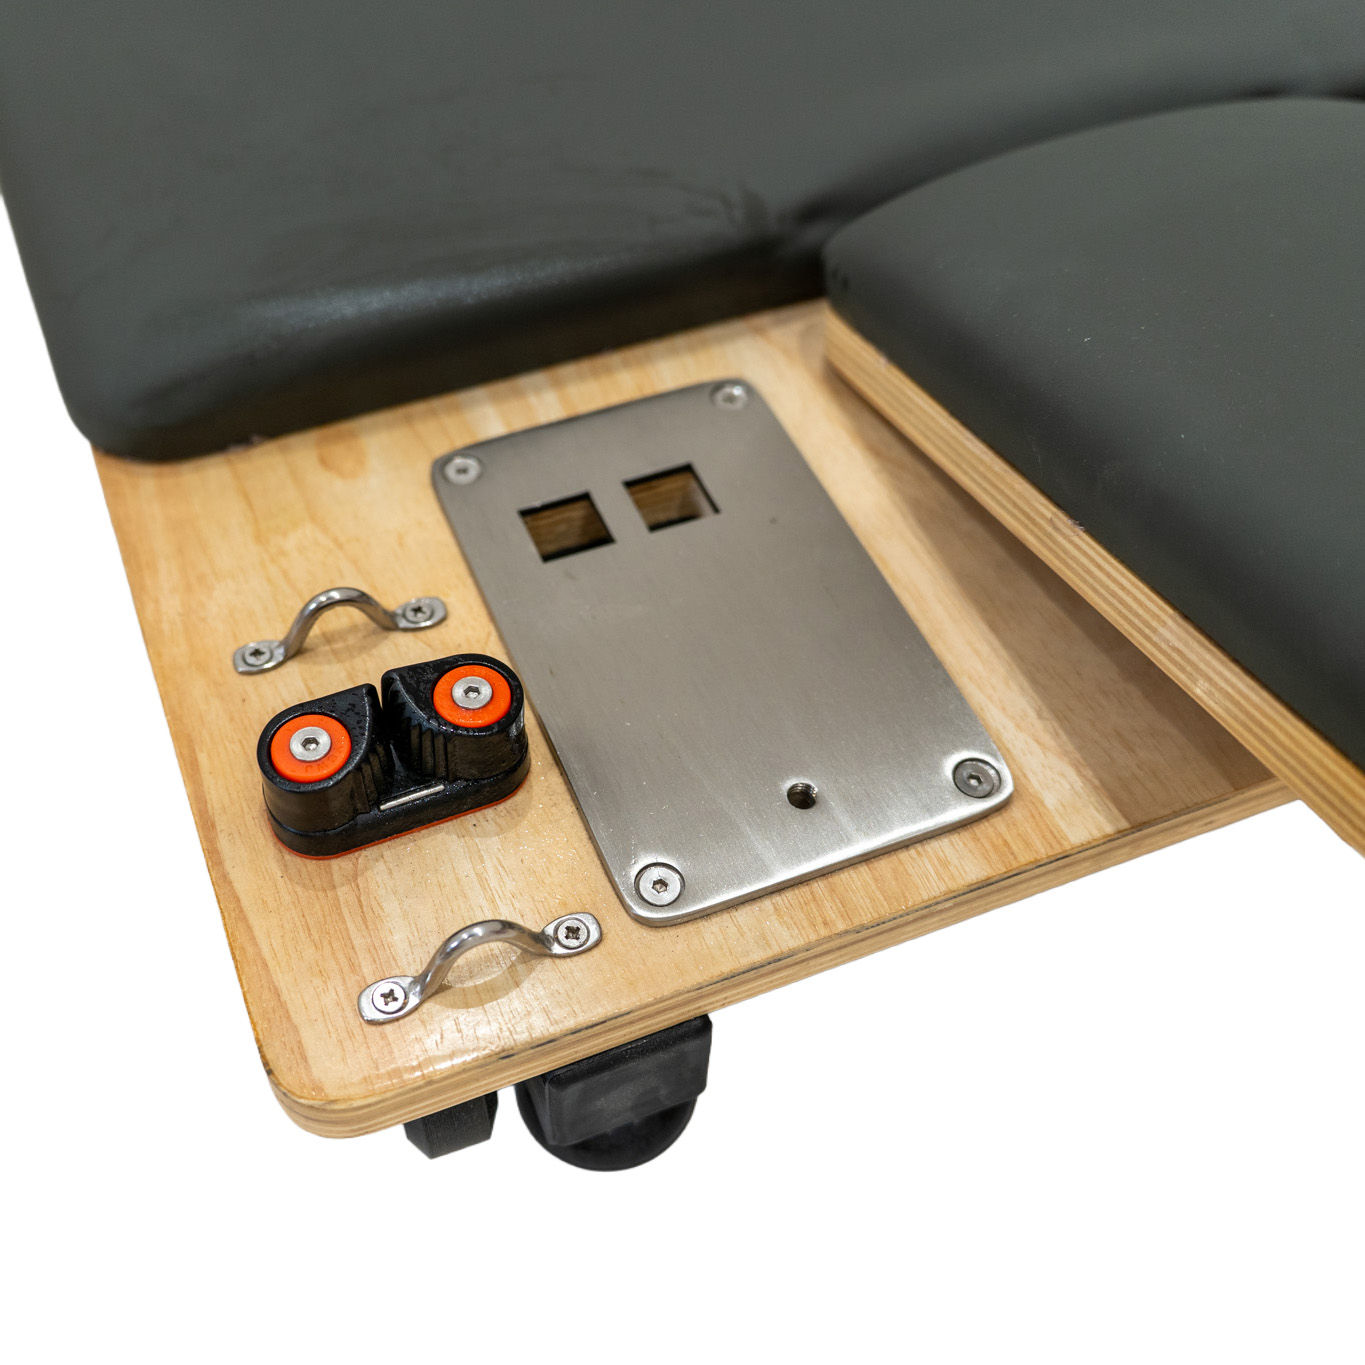
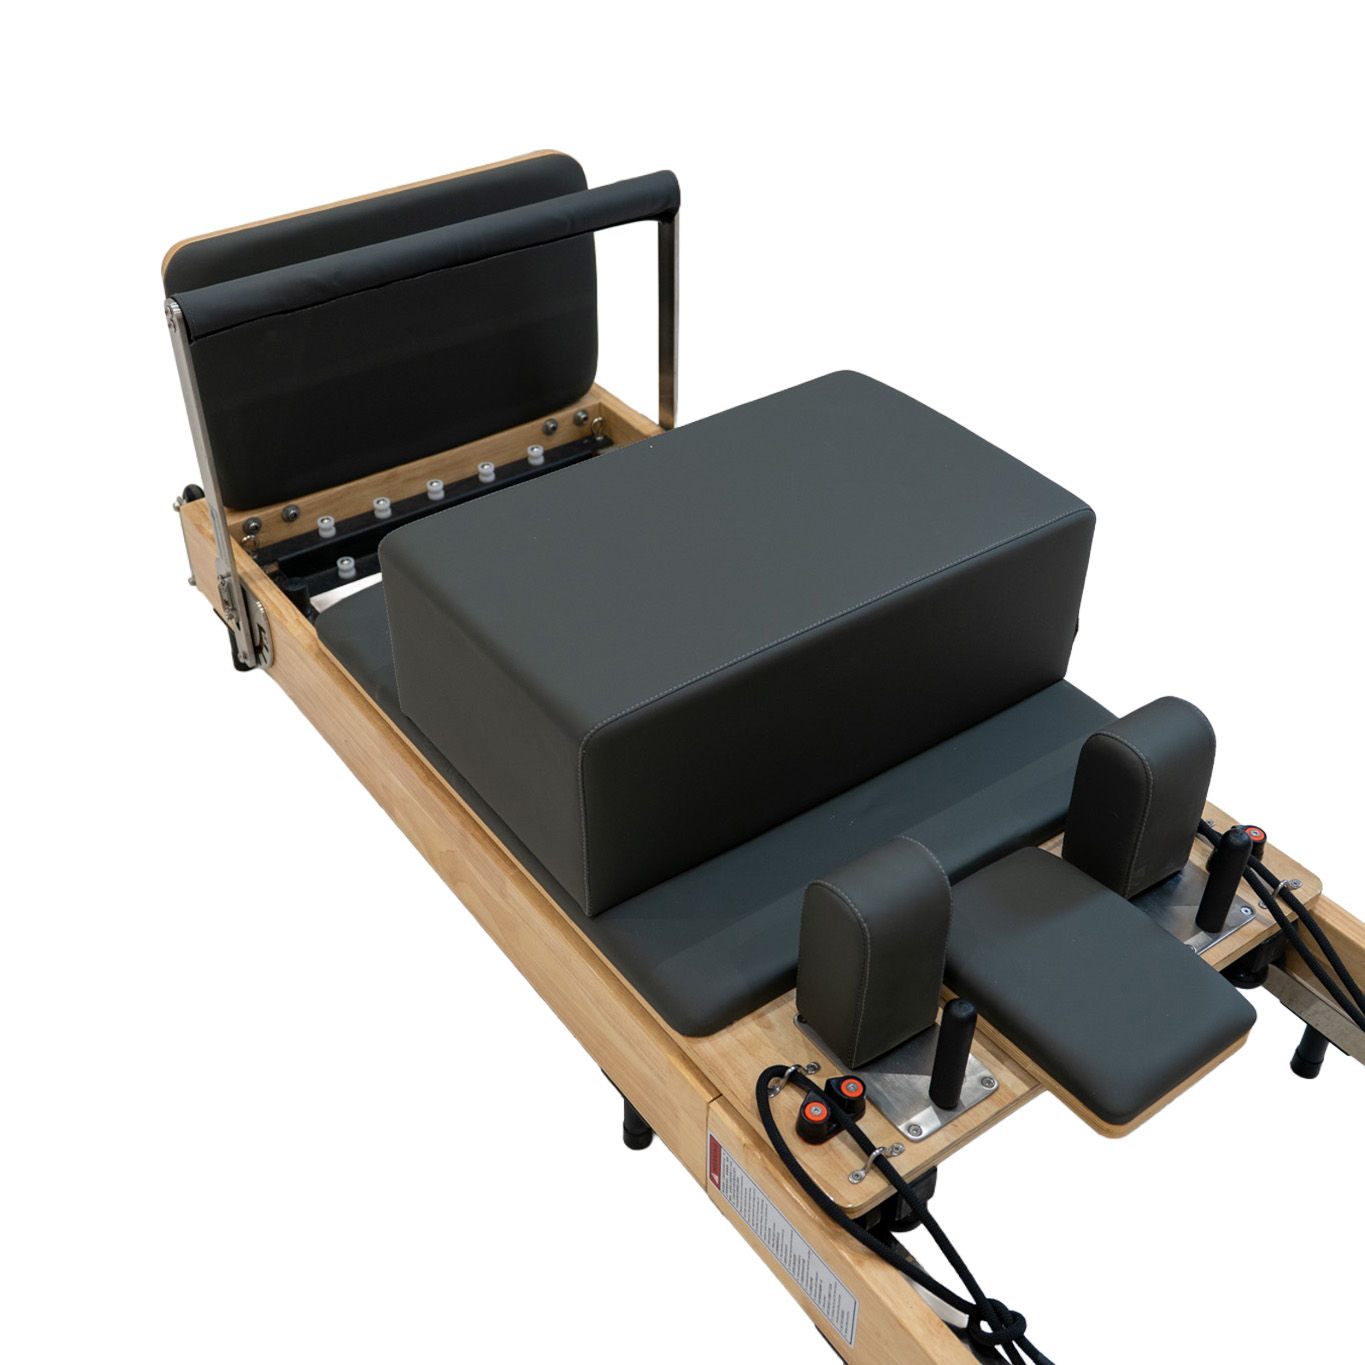
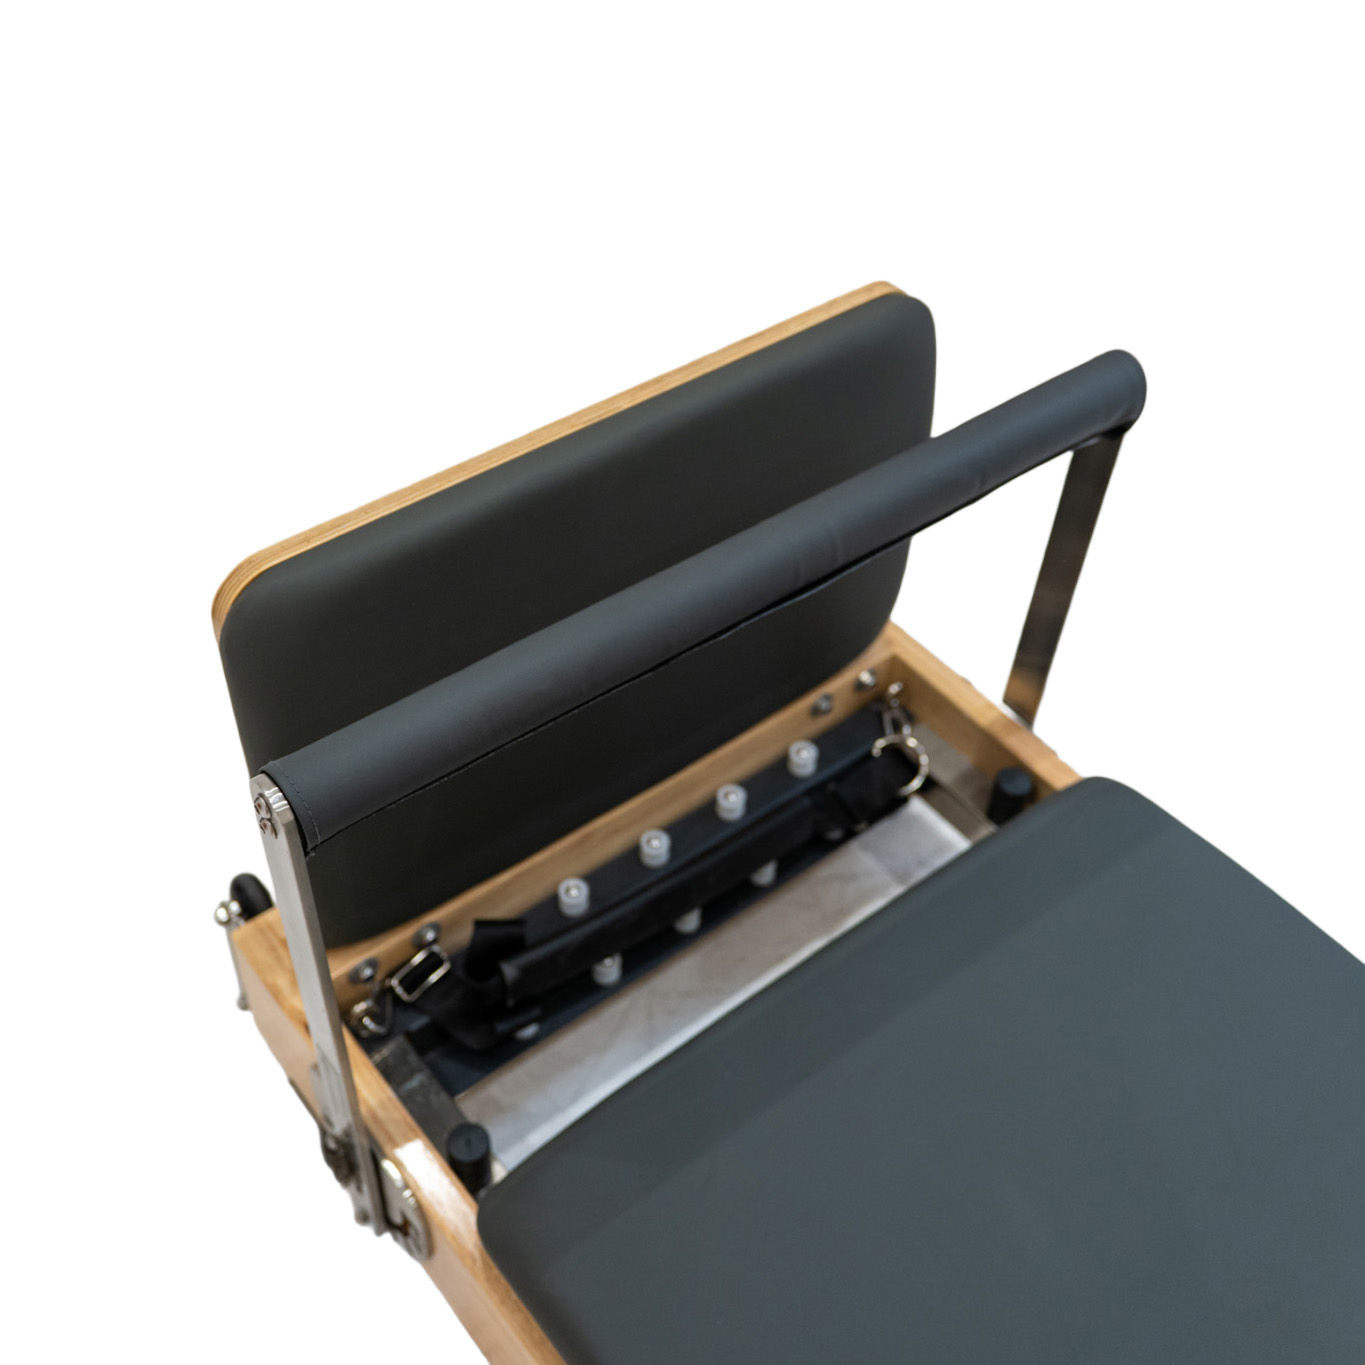
2. Secure Shoulder Pillow Installation
Install the Shoulder Pillows: Insert the shoulder pillows into the designated slots on the reformer base. Ensure they are securely fitted by aligning them with the metal plates and tightening the adjustment knobs to prevent movement during use.
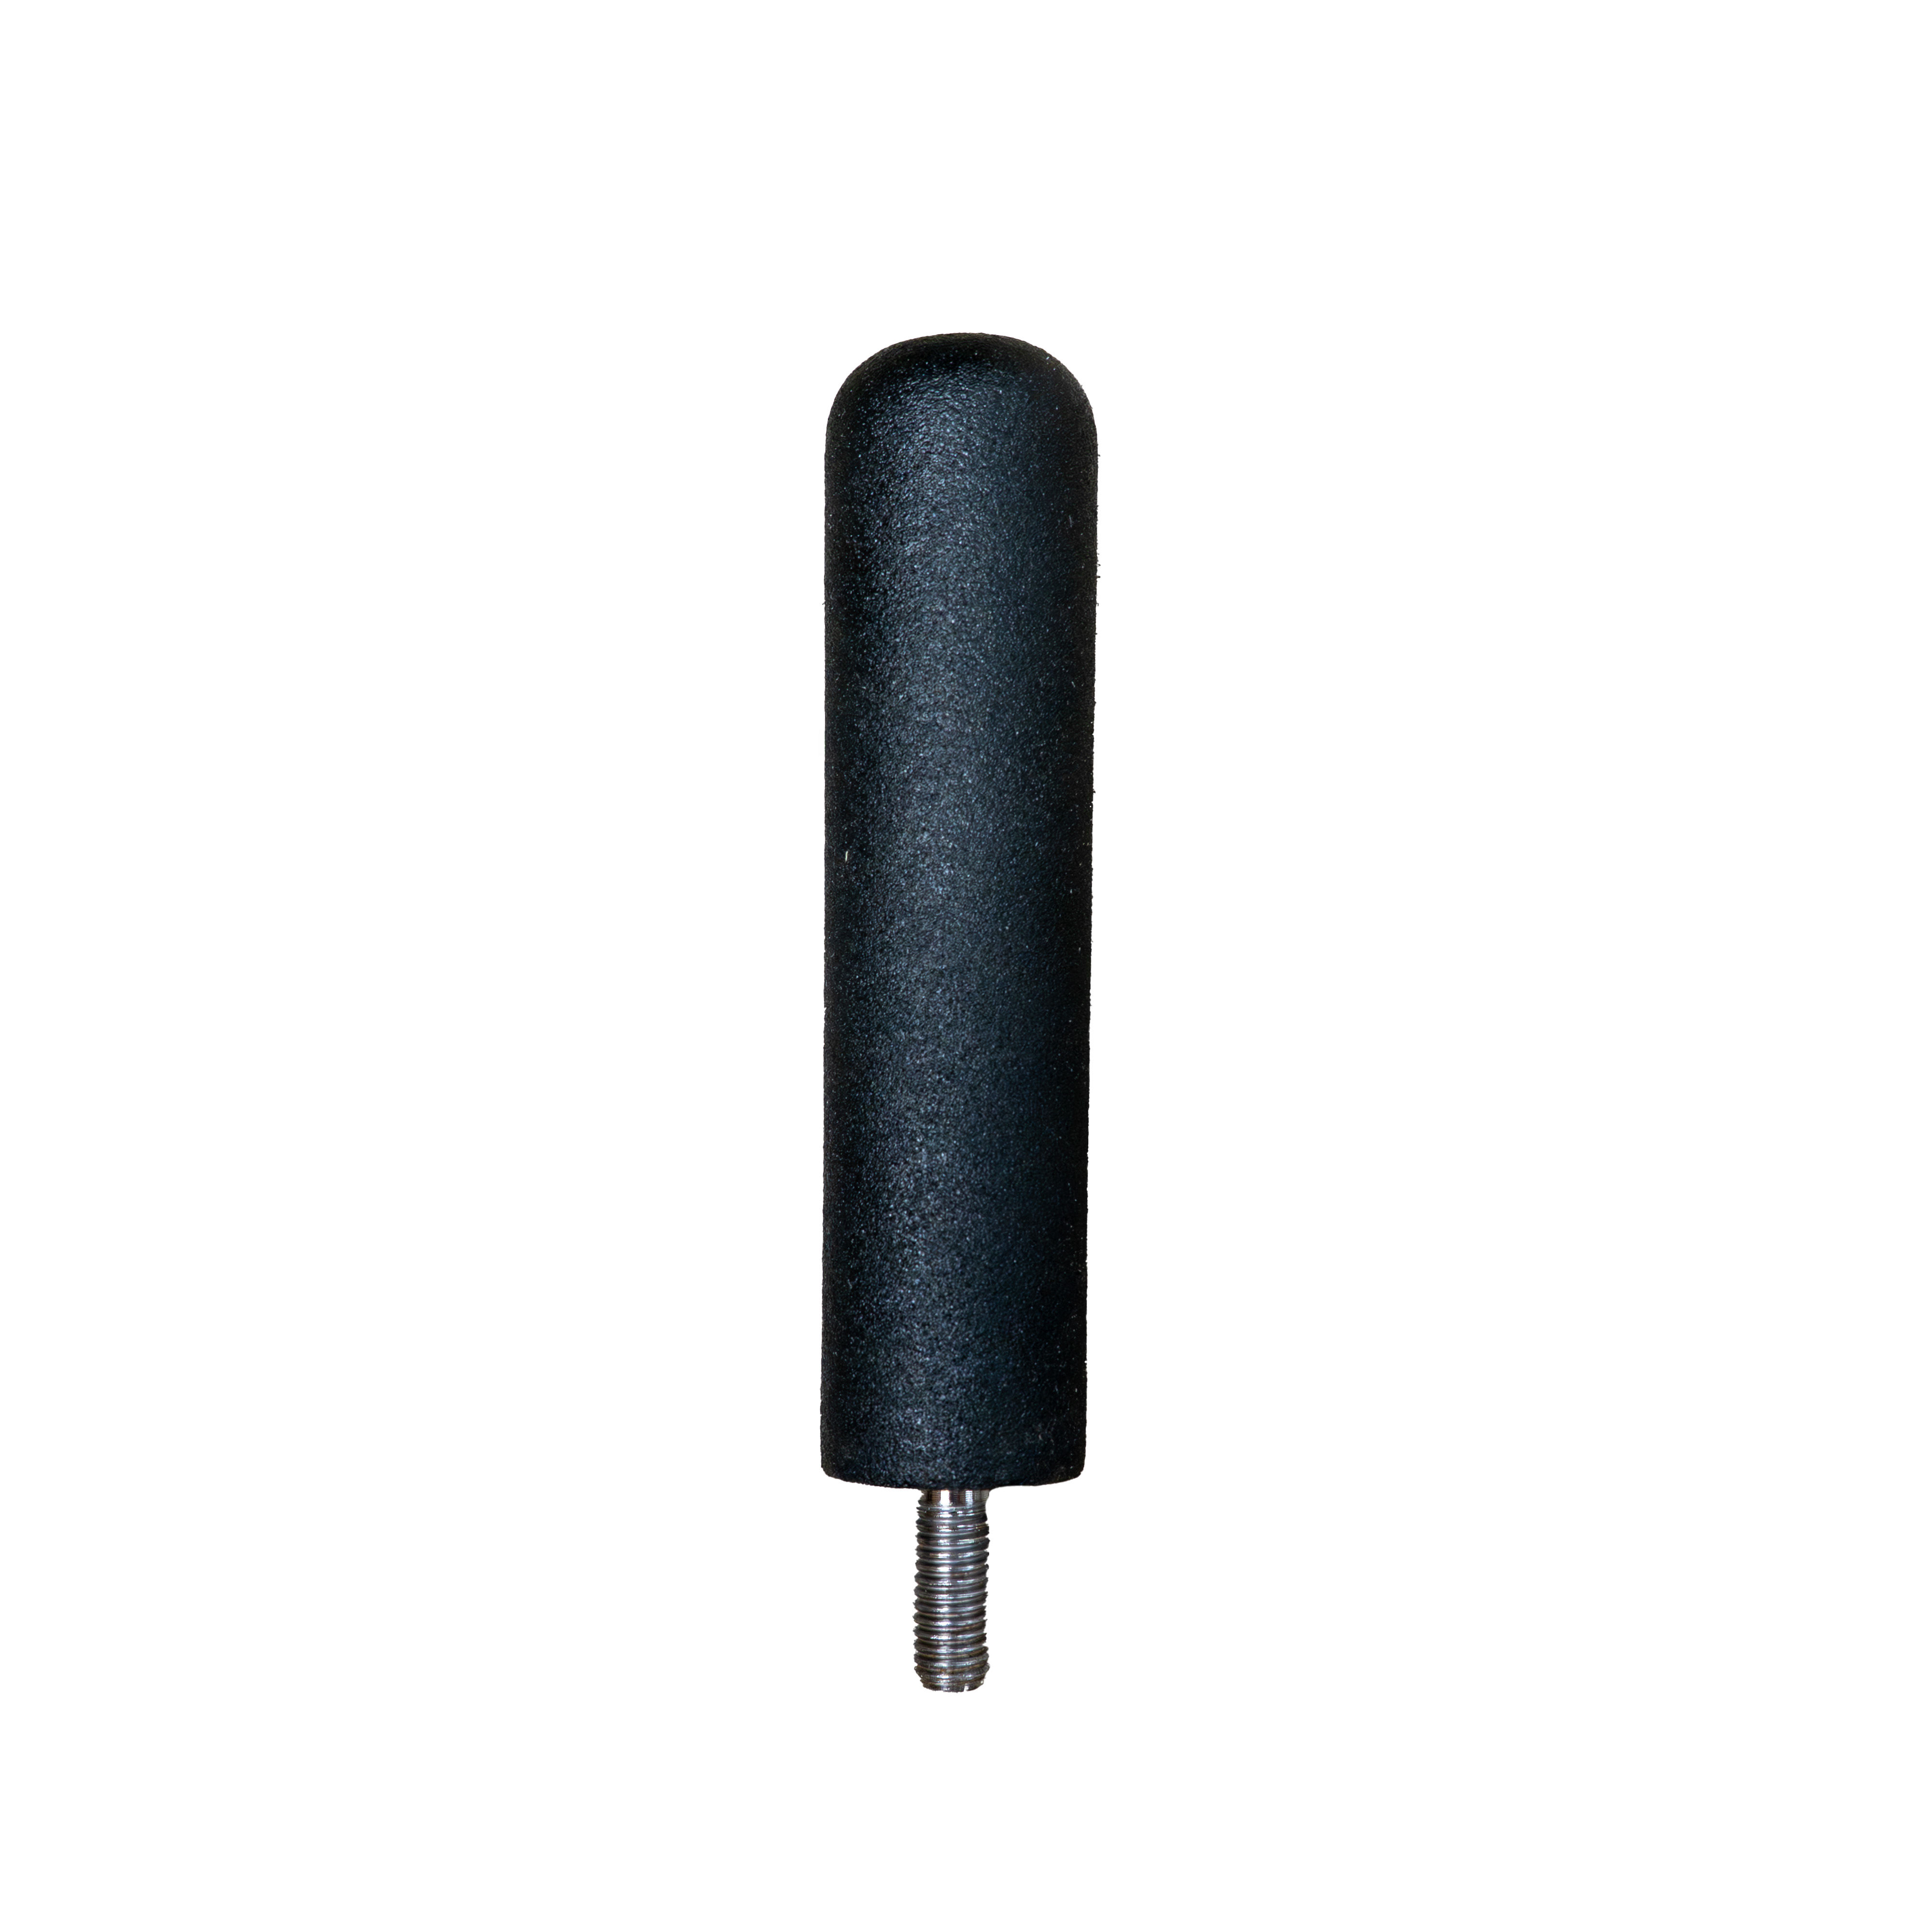
3. Shoulder Pillow Handle Installation
Install Shoulder Pillow Handles: Take the shoulder pillow handle and align it with the designated slot on the reformer base. Insert the threaded end into the slot and rotate it clockwise to secure it tightly. Ensure the post is firmly in place to prevent movement during use. Repeat the process for the second shoulder pillow handle.
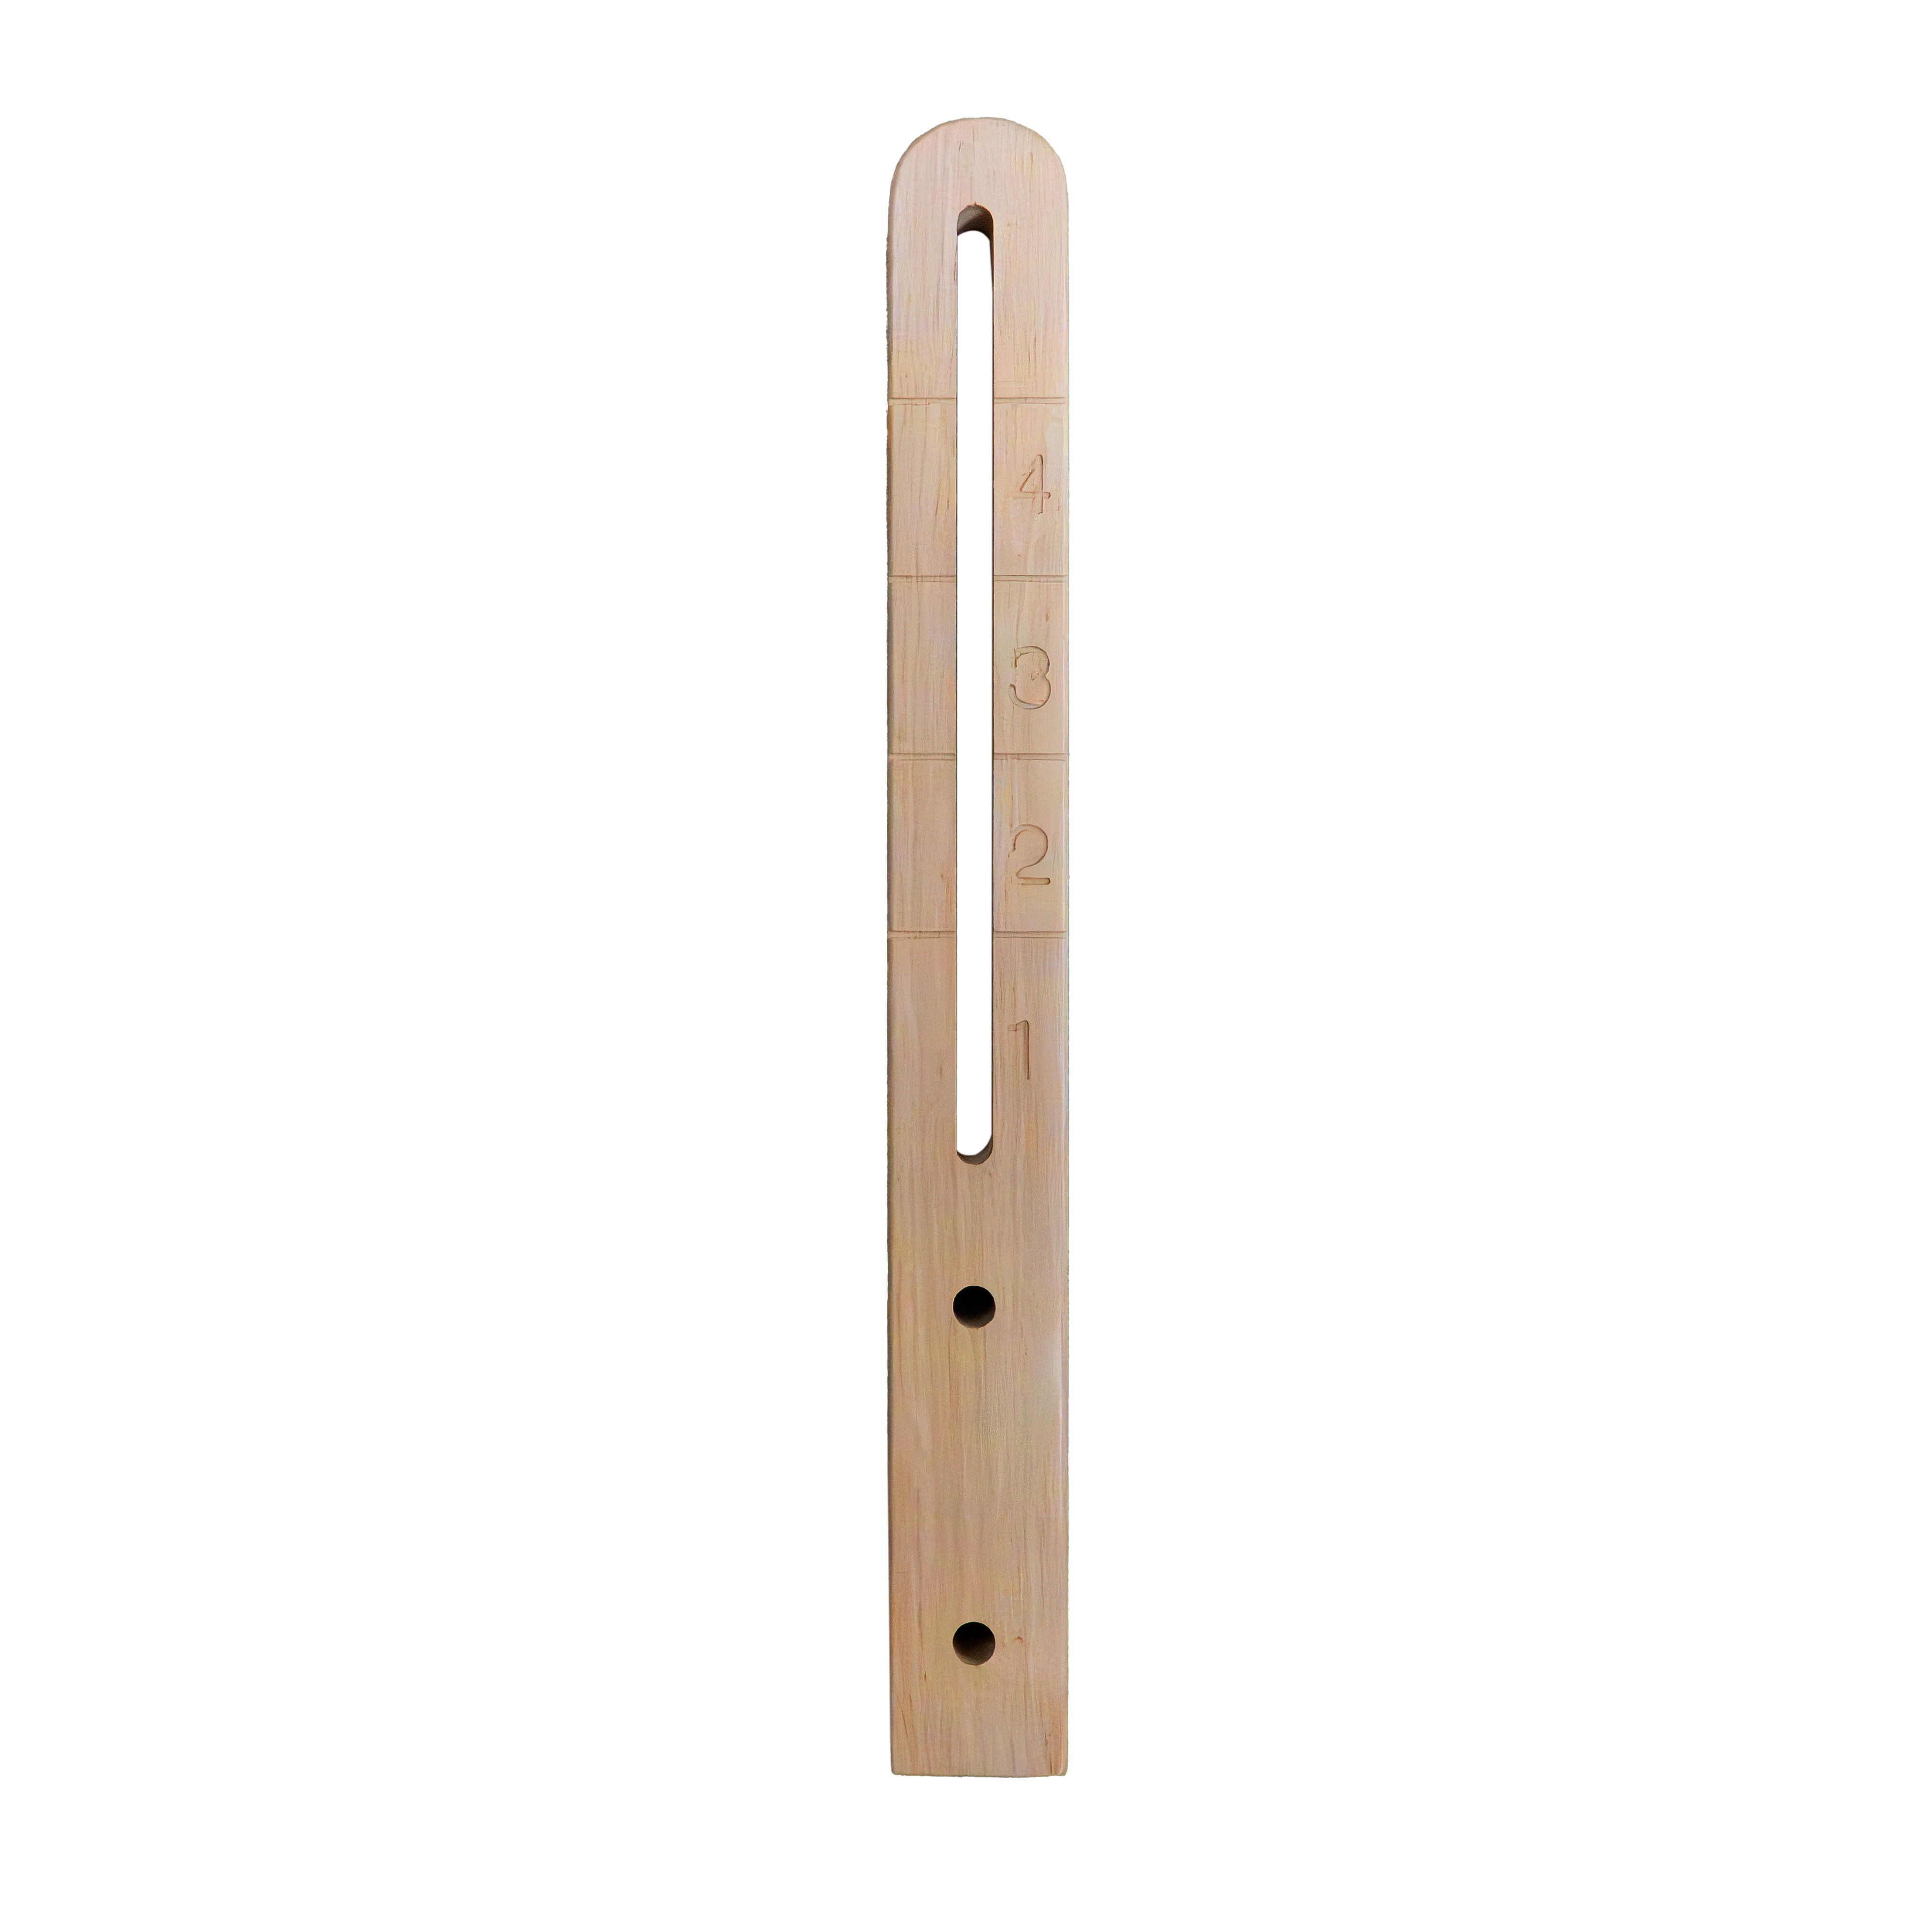
4. Lanyard Post Alignment and Securing
Install Lanyard Posts: Align the lanyard posts with the designated slots on the reformer frame. Insert the posts and secure them using the adjustment knobs. Ensure the posts are firmly in place by tightening the knobs to prevent any movement during use.
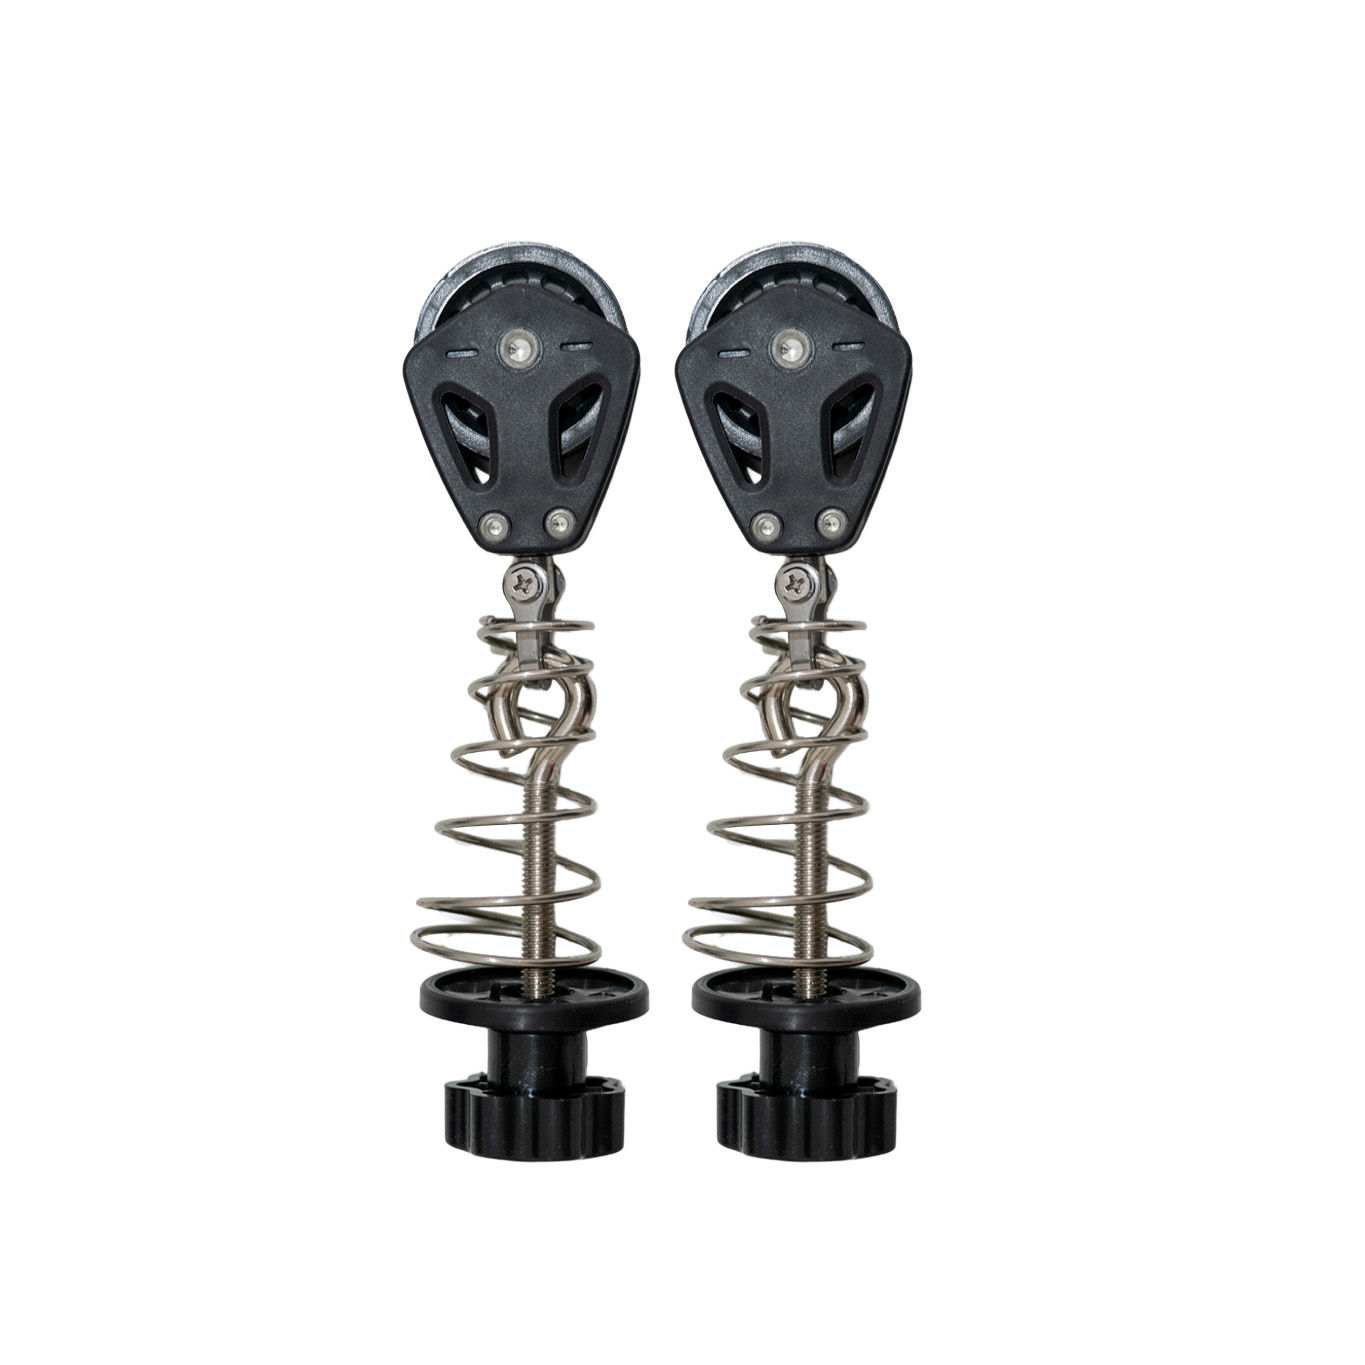
5. Pulleys Alignment and Securing
Install Lanyard Pulleys: Take the lanyard pulleys and align them with the top of the lanyard posts. Insert the pulleys into the designated slots and secure them by tightening the adjustment knobs. Ensure the pulleys are firmly in place to maintain stability during use.
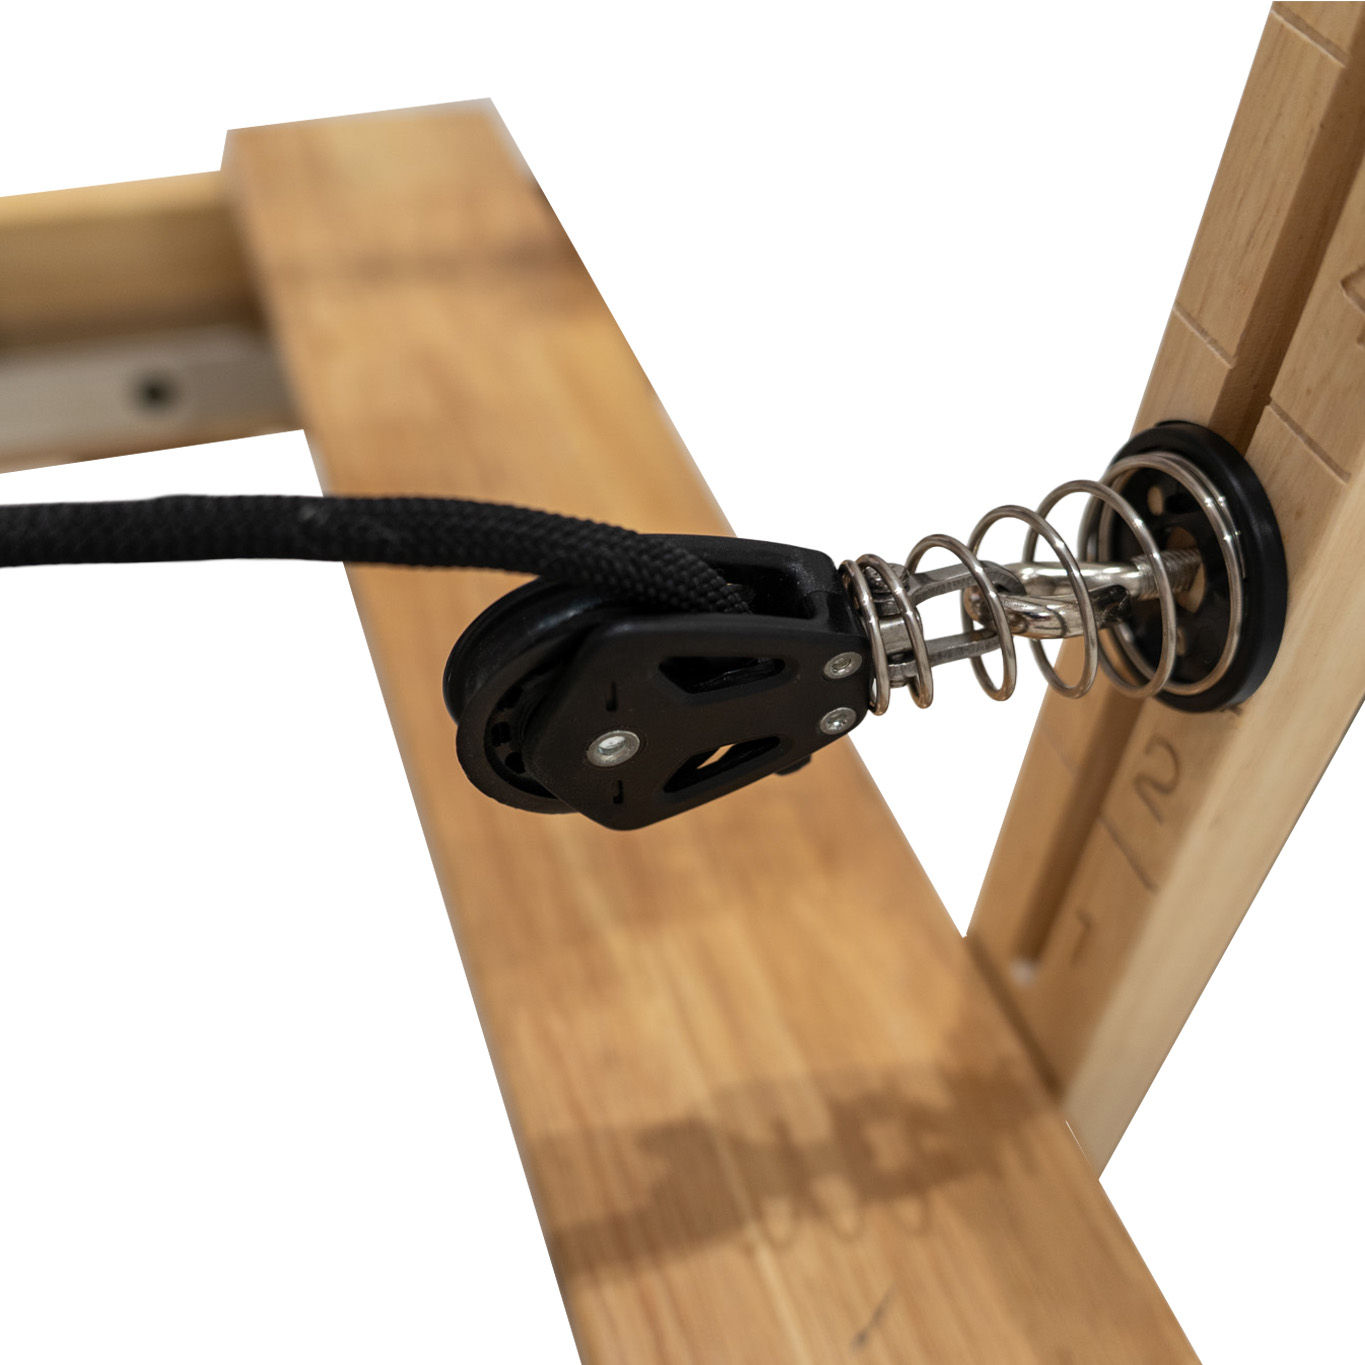
6. Rope Installation and Adjustment
Install Pull Rope and Handle:
Attach the Pull Rope: Begin by threading the pull rope through the pulley system. Ensure the rope is securely placed within the grooves of the pulleys to allow smooth movement.
Secure the Rope: Once threaded, pull the rope taut and secure it by tying a knot at the end. Ensure the knot is tight to prevent slippage during use.
Position the Rope: Align the rope along the designated path, ensuring it is not twisted and runs smoothly through all guides and pulleys.
Check Tension: Test the tension of the rope by pulling it gently. Adjust if necessary to ensure it moves freely without excessive slack.
7. Handle Cover Installation
Install Non-slip Handle Cover:
Position the Non-slip Handle Cover: Align the non-slip handle cover over the handlebar, ensuring it is centered and covers the entire length of the bar.
Secure the Cover: Wrap the cover around the handlebar, pressing the edges together to fasten it securely. Ensure the cover is tight and smooth, with no gaps or loose areas.
Check Stability: Gently press and pull on the cover to confirm it is firmly attached and will not slip during use. Adjust if necessary to maintain a secure fit.
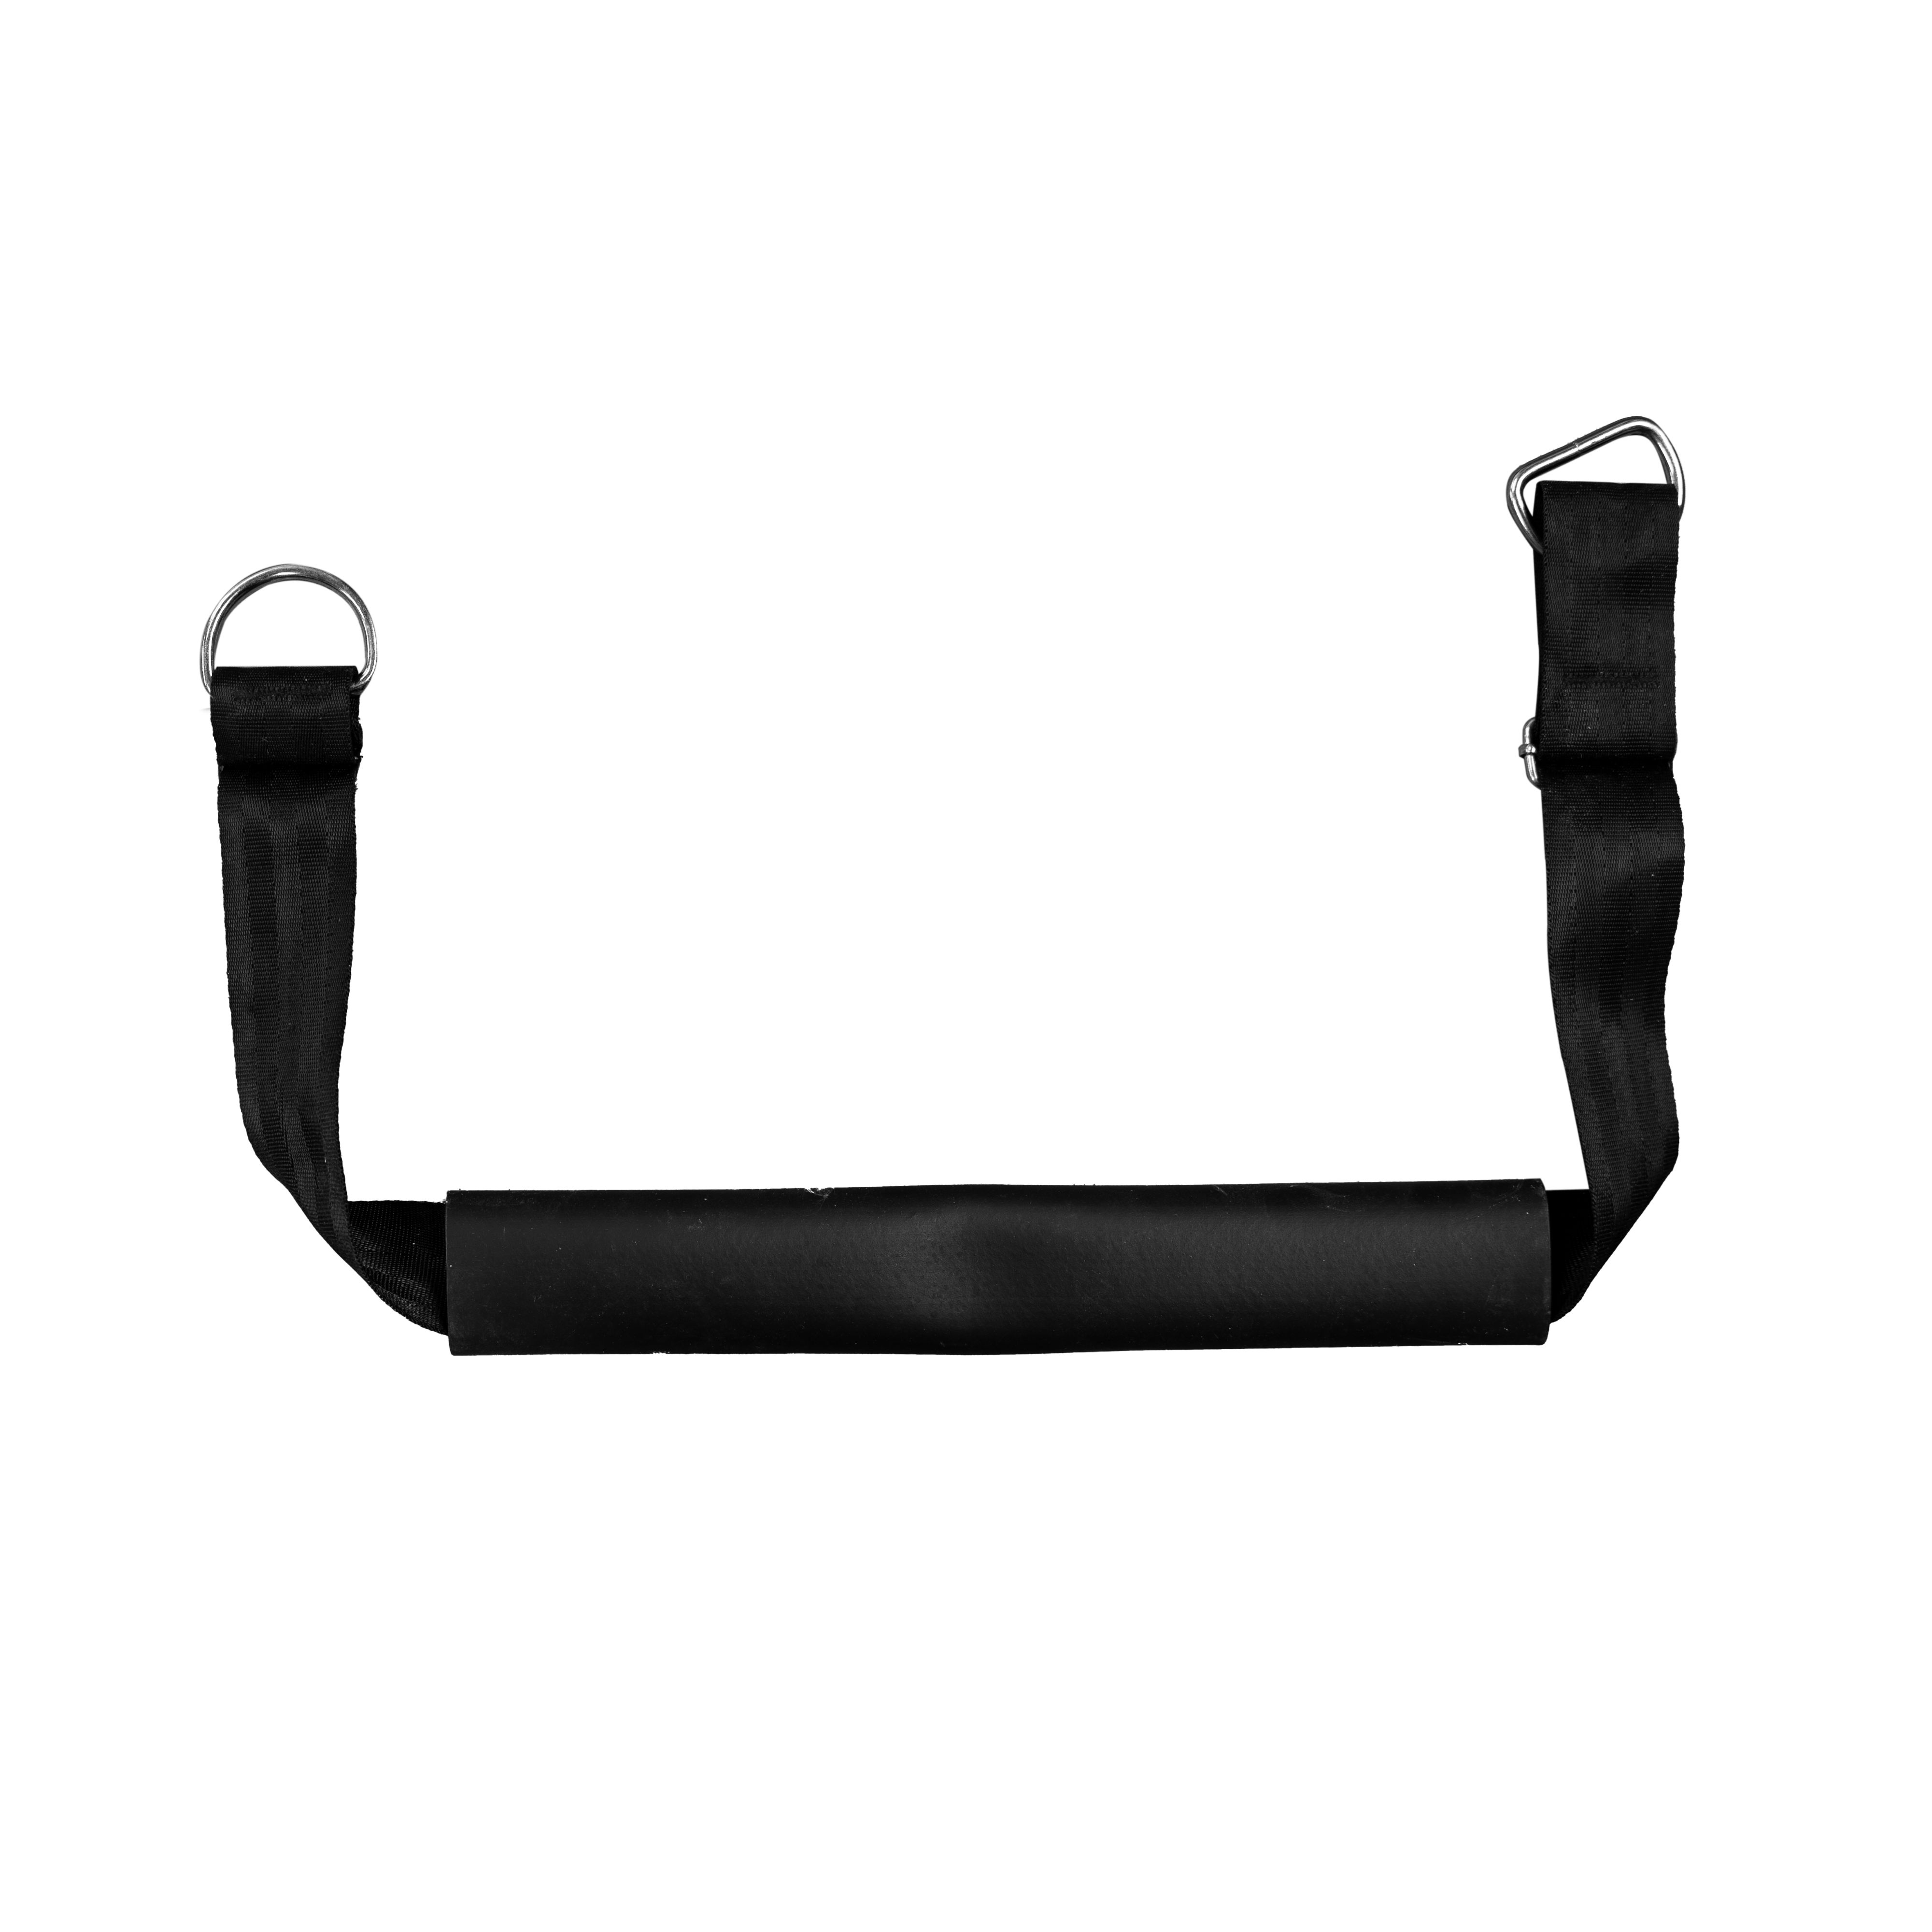
8. Hook Strap Installation and Adjustment
Install Hook Strap:
Position the Hook Strap: Take the hook strap and locate the attachment points on the reformer frame.
Attach the Hook Strap: Securely clip each end of the hook strap to the designated hooks on the frame. Ensure the clips are fully engaged to prevent detachment during use.
Check Alignment: Verify that the hook strap is evenly aligned and taut across the frame. Adjust if necessary to ensure stability and proper function.
Confirm Security: Gently pull on the hook strap to confirm it is securely attached and will not slip during exercises. Adjust the tension if needed.
9.
Install a Black Square Box
10. Footboard Installation and Stabilization
Install Footboard:
Position the Footboard: Align the footboard with the designated slots at the end of the reformer frame.
Secure the Footboard: Insert the footboard into the slots and ensure it is firmly seated. Tighten any adjustment knobs or fasteners to secure it in place.
Check Stability: Press gently on the footboard to confirm it is stable and will not move during use. Adjust if necessary to ensure a secure fit.
11. Maintenance
Inspect the reformer regularly for any signs of wear or damage. Do not use the machine if any components appear faulty or compromised.
Ensure all bolts, screws, and connections are securely tightened before each use to maintain the stability and safety of the machine.
When not in use, store the reformer in the storage bag provided in a dry, indoor environment, to prevent damage or deterioration of materials.
Wipe down the PVC leather surfaces of the reformer after each use with a soft, damp cloth and a mild soap solution to maintain cleanliness and prevent material degradation. Avoid using harsh chemicals or abrasive materials.
12. Troubleshooting
WHAT DO I DO IF THERE ARE MISSING PARTS FROM MY ORDER?
If there appears to be any part missing from your order, contact our friendly and helpful Customer Support Team within 7 days of receipt.
FOR ALL OTHER ISSUES, PLEASE CONTACT OUR CUSTOMER SUPPORT TEAM.
Previous stepCopy link to sharePrint / PDFNext step