Step-by-step guide for the ecoQ DryAir 30L Essential dehumidifier. Includes setup, modes, timer, humidity settings, fan speed, drainage, cleaning, filter care, storage, and troubleshooting for effective moisture control and lasting performance.
Product Information
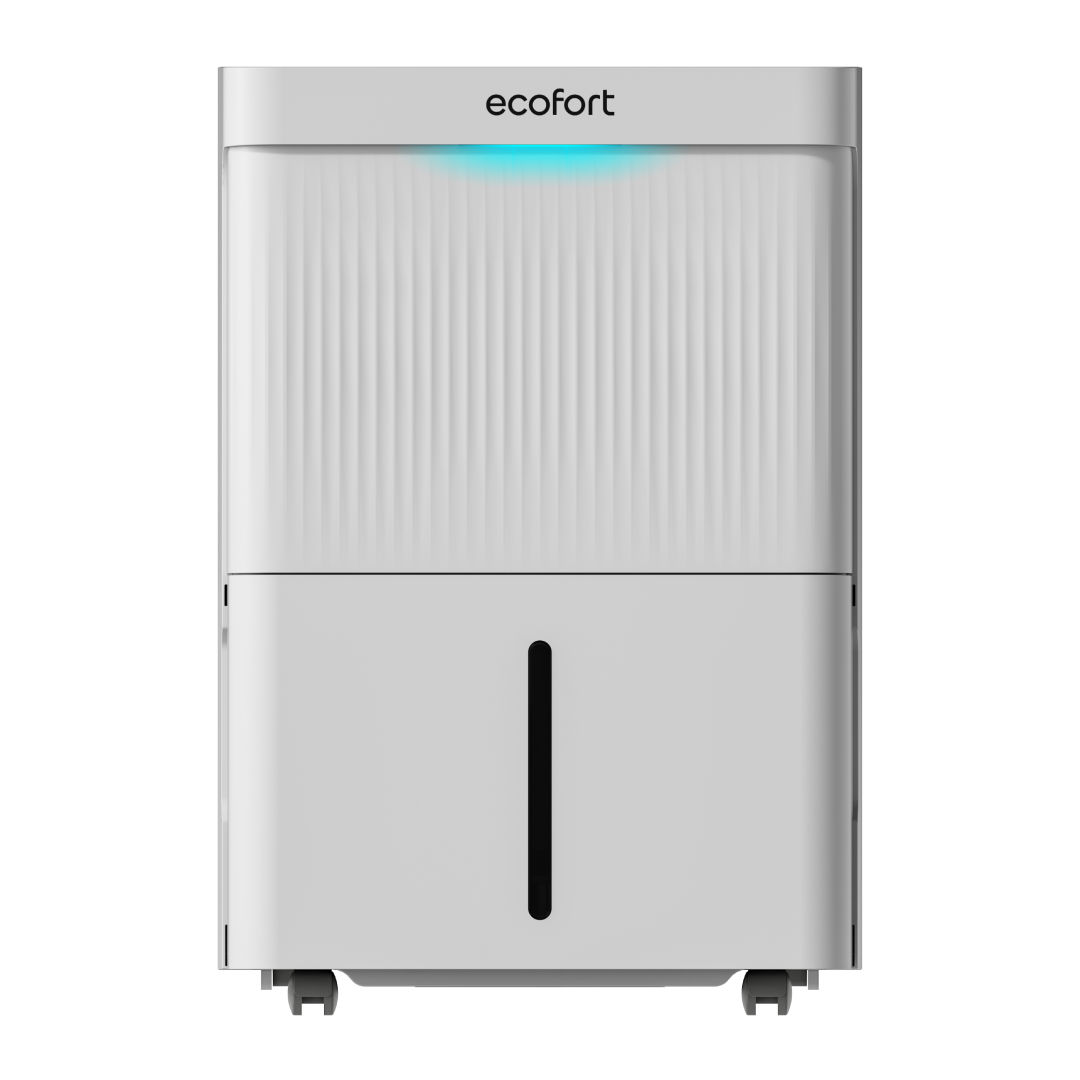
ecoQ DryAir 30L Essential
The dehumidifier is used to remove excessive moisture from the air. The resulting reduction in relative humidity protects buildings and their contents from the adverse effects of excess humidity.
The environmentally friendly R290 is used as the refrigerant. R290 has no damaging influence on the ozone layer (ODP), a negligible greenhouse effect (GWP) and is available worldwide. Because of its efficient energy properties, R290 is highly suitable as a coolant for this application. Special precautions must be taken into consideration due to the coolant's high flammability.
SKU
A026380
Technical Parameters
Power Supply
AC220-240V 50Hz
Power Consumption (30°C RH80%)
475W
Power Consumption (27°C RH60%)
430W
Power Consumption (20°C RH60%)
390W
Power Consumption (15°C RH60%)
360W
Dehumidify Capacity (30°C RH80%)
30L/D
Dehumidify Capacity (27°C RH60%)
19L/D
Dehumidify Capacity (20°C RH60%)
14L/D
Dehumidify Capacity (15°C RH60%)
8L/D
Full Water Quantity
5.5L
Minimum Noise Level
43dB(A)
IP Protection Class
IPX1
Cable Length
150cm
Dehumidification Efficiency Ratio (DER)
2.6L/kWh
Noise
≤45dB(A)
Air Circulation
180m3/hr
Refrigerant/Charge
R290/78g
Working Temp.
5ºC-35ºC
Recommend Room Size
30~40m²
Control Type
Electronic/Press Button
Status Indicator
Bucket Full Signal Light
Timer
1-24hr
Auto Defrost
Yes
Body Size (mm)
355 x 281 x 529mm
Package Size (mm)
400 x 328 x 610mm
Net Weight
14 kg
Gross Weight
16.5 kg
Loading Quantity (20'/40'/40'HQ)
294/609/812 pcs
Warranty
ecofort provides a 2-year warranty on this product, starting from the delivery date.
If your product has a defect, we will repair it or provide a replacement. To make a claim, contact the service center of the retailer where you purchased the product with your order or invoice number. Please do not return any products without contacting them first. This warranty does not cover damage caused by accidents, misuse, natural wear and tear, or unauthorized modifications.
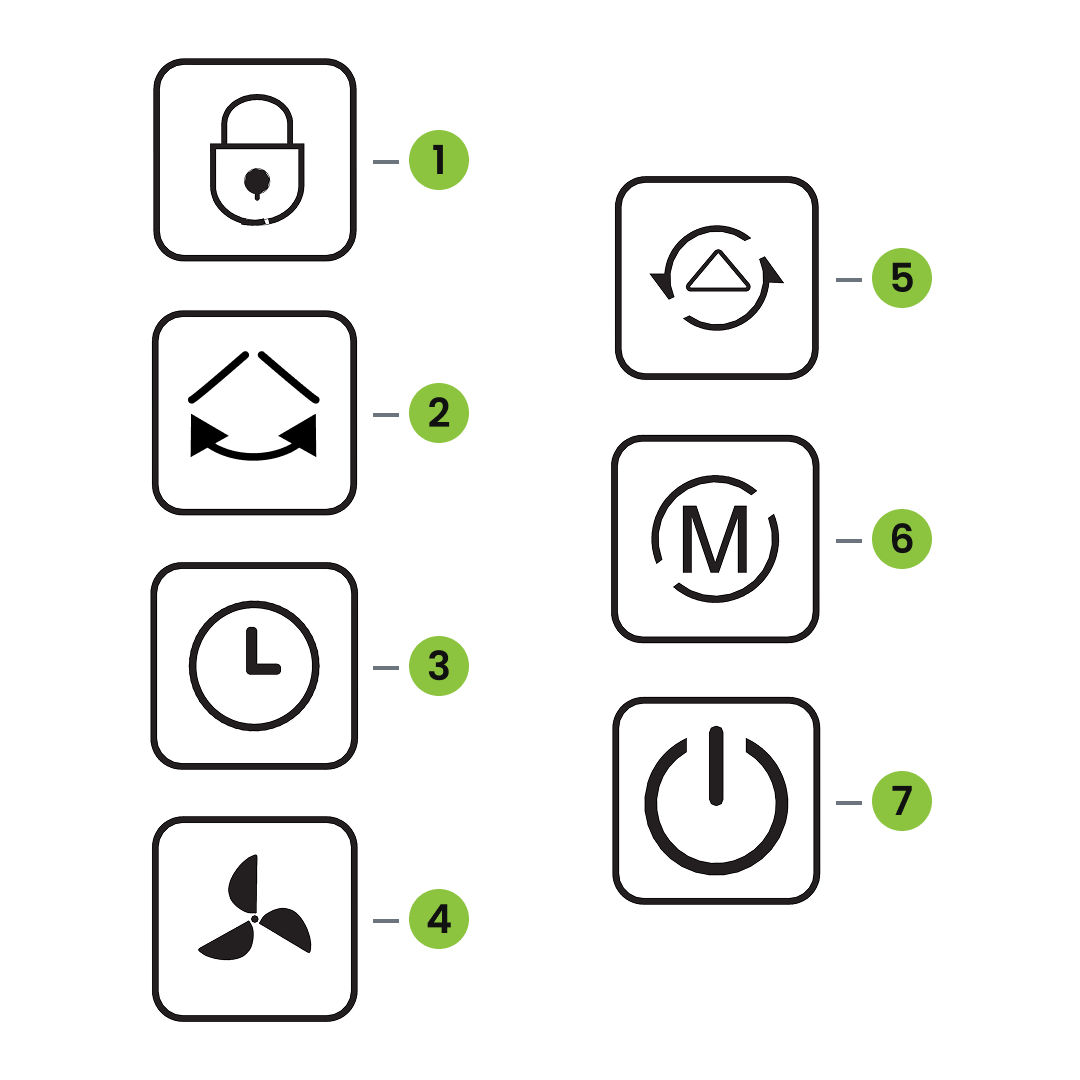
Press the POWER button to switch on the unit. The operation indicator will light up. Default settings:
Fan speed High, Humidity 50%.
To switch off the unit, press the POWER button again.
The indicator will turn off, and the compressor and fan motor will stop.
4. Mode Button
Press the Mode button to switch between Auto Mode and Continuous Mode.
Auto Mode: The dehumidifier automatically regulates operation based on the room humidity. The corresponding indicator will light up.
Continuous Mode (CO – Clothes Dry): The unit runs continuously at full capacity, ideal for drying clothes. When this mode is selected, the T-shirt symbol appears on the display.
Auto Mode
In Auto mode, the fan starts when the measured humidity is at least 3% above the set value. After 3 seconds, the compressor switches on as well.
When the humidity drops to 3% below the set value, the compressor stops and the fan continues to run for about 30 seconds.
Please note: Small deviations of a few percentage points are technically normal.
Both fan speed and humidity setting can be adjusted under Auto mode. Press the Set button adjust humidity.
Continuously Dehumidify Mode
In this mode, the machine will continue to run in high fan speed, fan speed is adjustable, humidity setting can not be adjusted.
Sleep Mode
To activate Sleep Mode, press and hold the MODE button.
In Sleep Mode, all indicator lights and the display screen will turn off – except for the Sleep Mode indicator, which remains on.
If the water tank becomes full while in Sleep Mode, the unit will not sound an alarm. Instead, the Water Full indicator will light up in red to remind you to empty the tank.
5. Timer Button
Use the TIMER button to set, check, or cancel the timer.
Setting the Timer (when no timer is active): Press the TIMER button to enter timer setting mode. The display will flash showing the timer value. While flashing, press the Humidity button to set between 0 and 24 hours.
Cancelling the Timer (when a timer is active): Press the TIMER button to view remaining time. While flashing, press the TIMER button again to cancel the timer.
6. Humidity Button
Press the Humidity button to set the target humidity or adjust the timer.
Each press increases the humidity by 5%, cycling through:
Press the FAN SPEED button to toggle between high and low fan speeds.
The corresponding indicator light will illuminate to show the selected speed.
8. Key Lock
Press and hold this button for 3 seconds to activate the key lock. The indicator light will turn on, and all other buttons will be disabled.
To deactivate the key lock, press and hold the same button again for 3 seconds. The indicator light will turn off.
9. Swing Button
Press the SWING button to activate or deactivate the automatic swing function.
Press the button again to stop the swing and fix the airflow direction at the current angle.
10. Three-Color Light
Indicates the current ambient humidity. When the device is running, the three-color light shows the corresponding humidity range.
If the ambient humidity is below 45%, the light glows blue.
If the ambient humidity is between 45% and 65%, the light glows green.
If the ambient humidity is above 65%, the light glows red. (The light will also turn red in case of a fault.)
11. Auto Defrost Function
When the ambient temperature is 22°C or lower, the unit automatically enters the defrost mode.
During defrosting, the corresponding mode indicator will flash, and the compressor stops operating while the fan continues to run.
Drainage
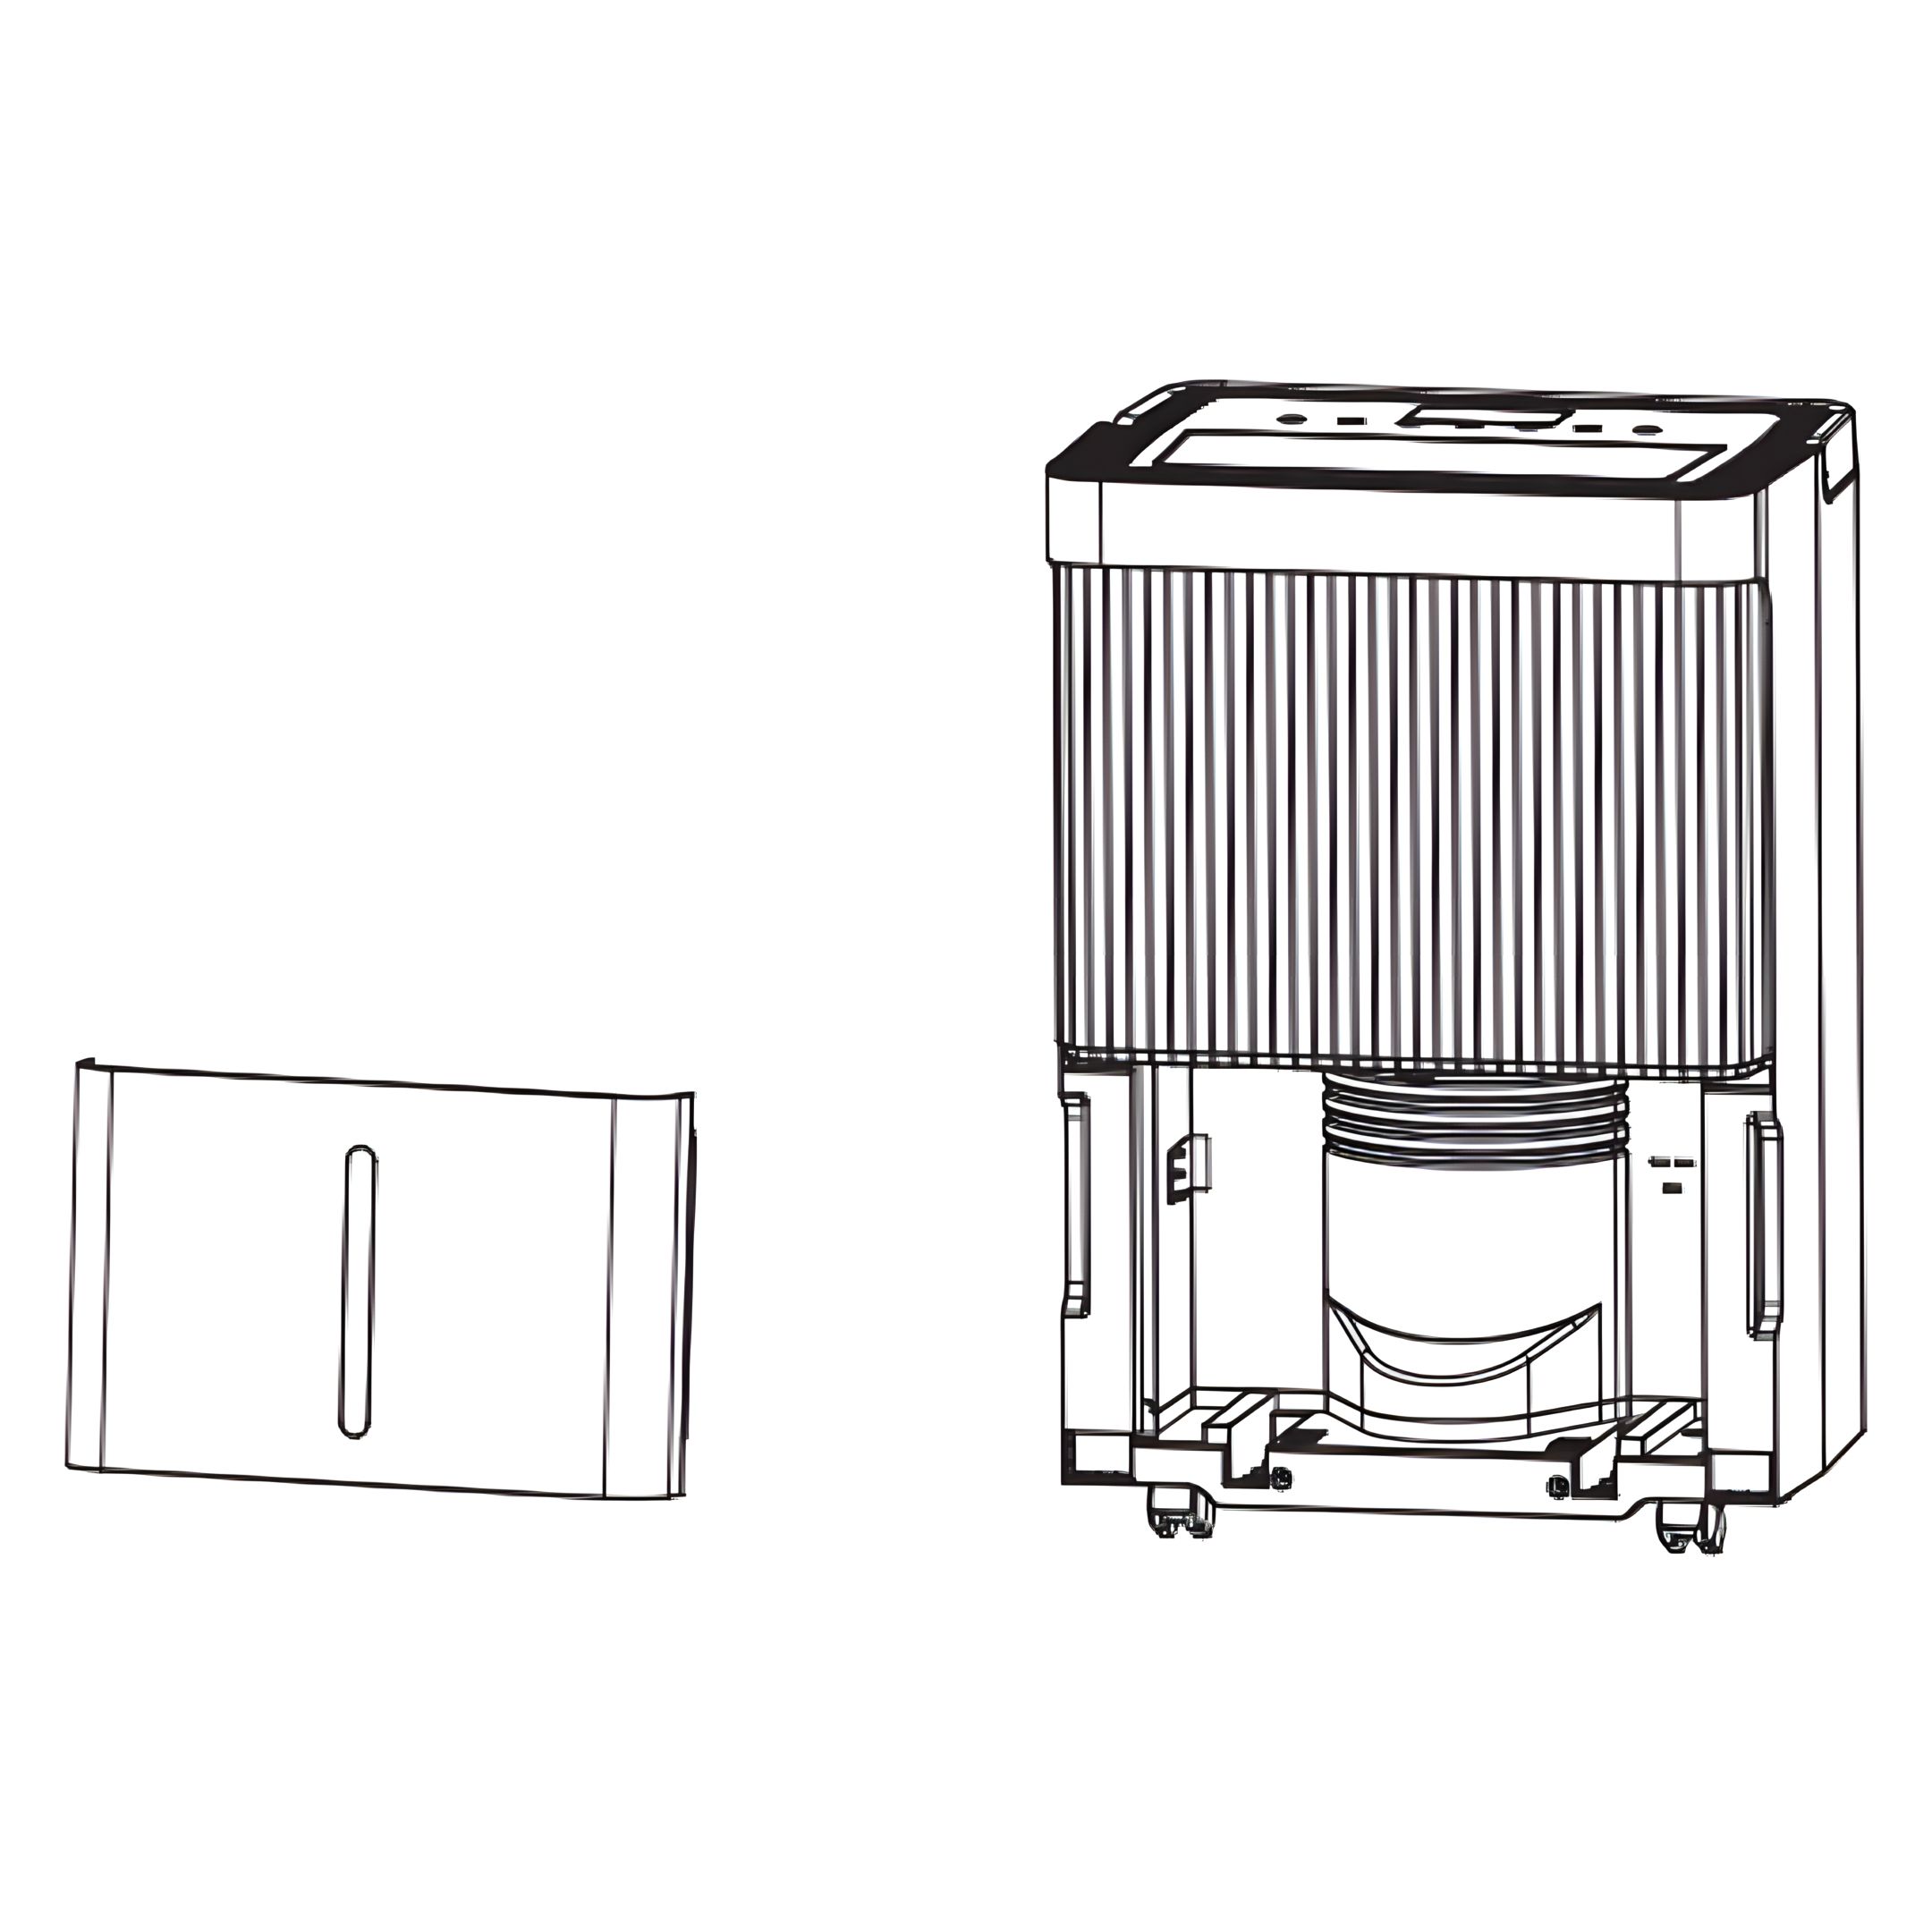
12. Emptying the Water Tank
When the tank is full, the unit will emit a buzzer sound, the display will show “FL”, and the Water Full indicator will light up.
Press the POWER button to turn off the unit.
Gently pull out the water tank from the unit.
Empty the water into a suitable drain or pour it outside.
Rinse and clean both the inside and outside of the tank.
Reinsert the empty tank securely into the unit.
Press the POWER button again to resume operation.
If the Water Full light remains on, check whether the float inside the tank is correctly positioned.
13. Warning
Do not remove the magnets or plastic rivets. They are required for proper detection. Without them, the machine may not stop when the tank is full, leading to water overflow and floor damage.
Always empty the tank before changing the operating mode. A full tank may prevent the machine from switching modes.
Clean the tank with water only. Avoid detergents, chemicals, steel wool, or solvents – they can damage the tank and cause leaks.
Reinsert the empty tank properly. If the tank or magnets are missing or misaligned, the red "full" light may stay on and the machine will not restart.
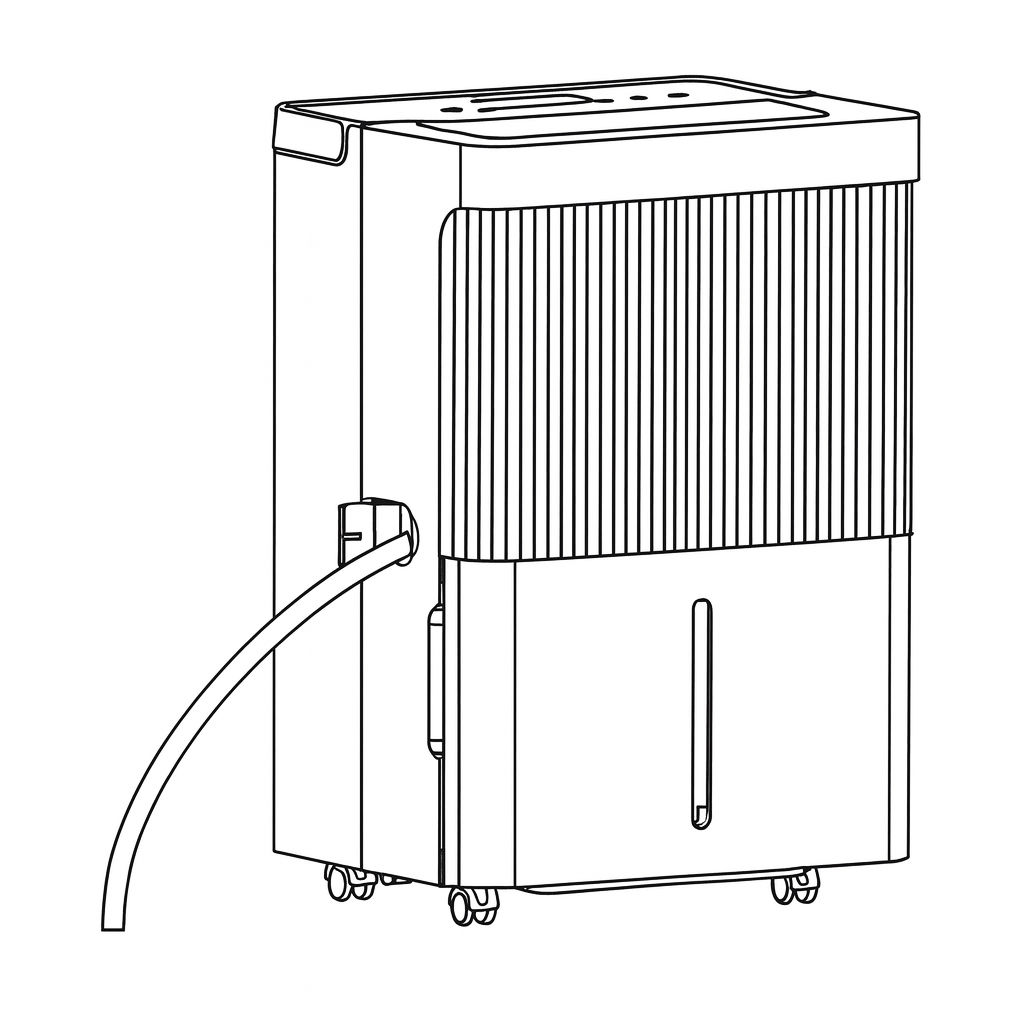
14. Continuous Draining
For continuous operation or unattended dehumidification, connect a suitable drain hose with an inner diameter of 12 mm (not included) to the drainage outlet on the unit. The condensed water will then drain automatically by gravity.
Fully straighten the drain hose to ensure proper water flow.
Insert one end of the hose firmly into the drainage outlet of the unit.
Place the other end into a floor drain, sink, bucket, or any suitable drainage area.
15. Continuous Draining Warnings
Do not block the drainage outlet or hose. If the drain is blocked, the condensed water will be redirected into the internal water tank.
Make sure the drain hose is not bent or kinked. The end of the hose must be positioned lower than the drainage outlet to ensure proper gravity flow outlet.
Ensure the drain hose is securely and tightly connected to the outlet to prevent leaks.
Maintenance
16. Important
Before cleaning or maintaining the unit, always turn it off and unplug the power cord to avoid the risk of electric shock.
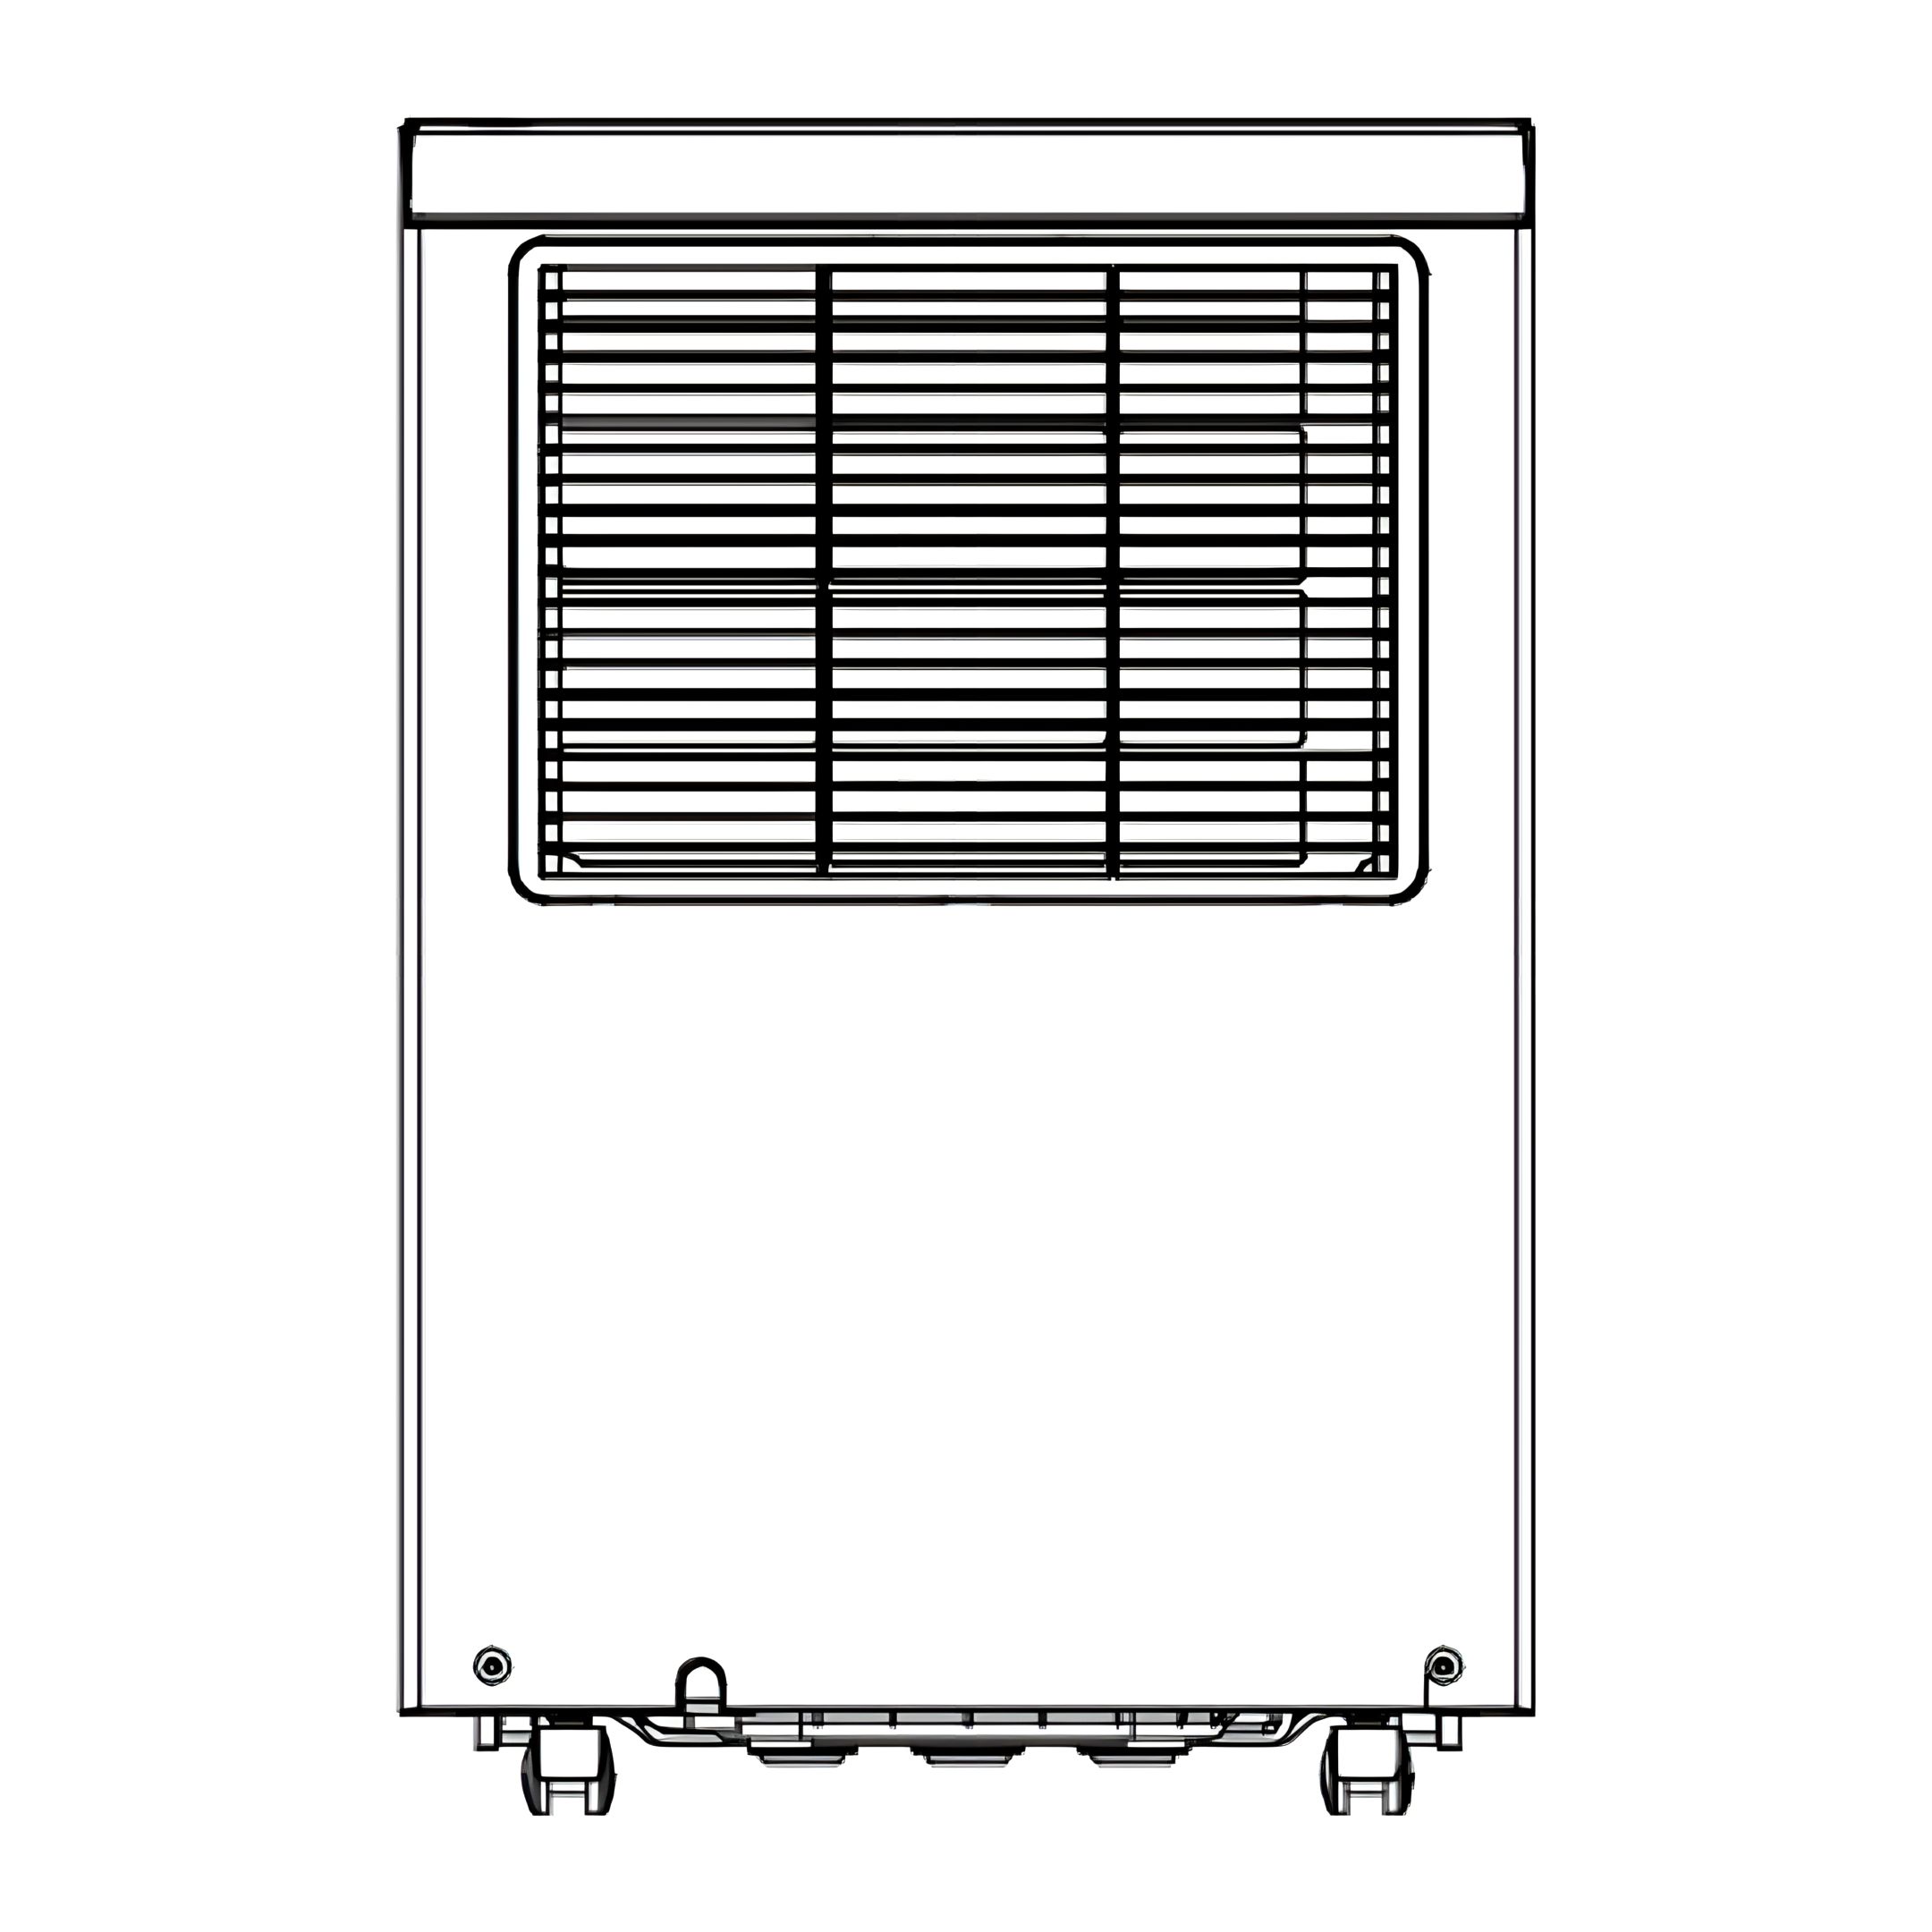
17. Cleaning the Air Filter
Clean the air filter every two weeks.
Dust can accumulate on the air filter and block the airflow.
Restricted airflow reduces the efficiency of the unit and may cause damage if the filter becomes clogged.
To ensure proper operation, the air filter must be cleaned regularly.
Do not operate the unit without the air filter, as this may lead to contamination of the evaporator.
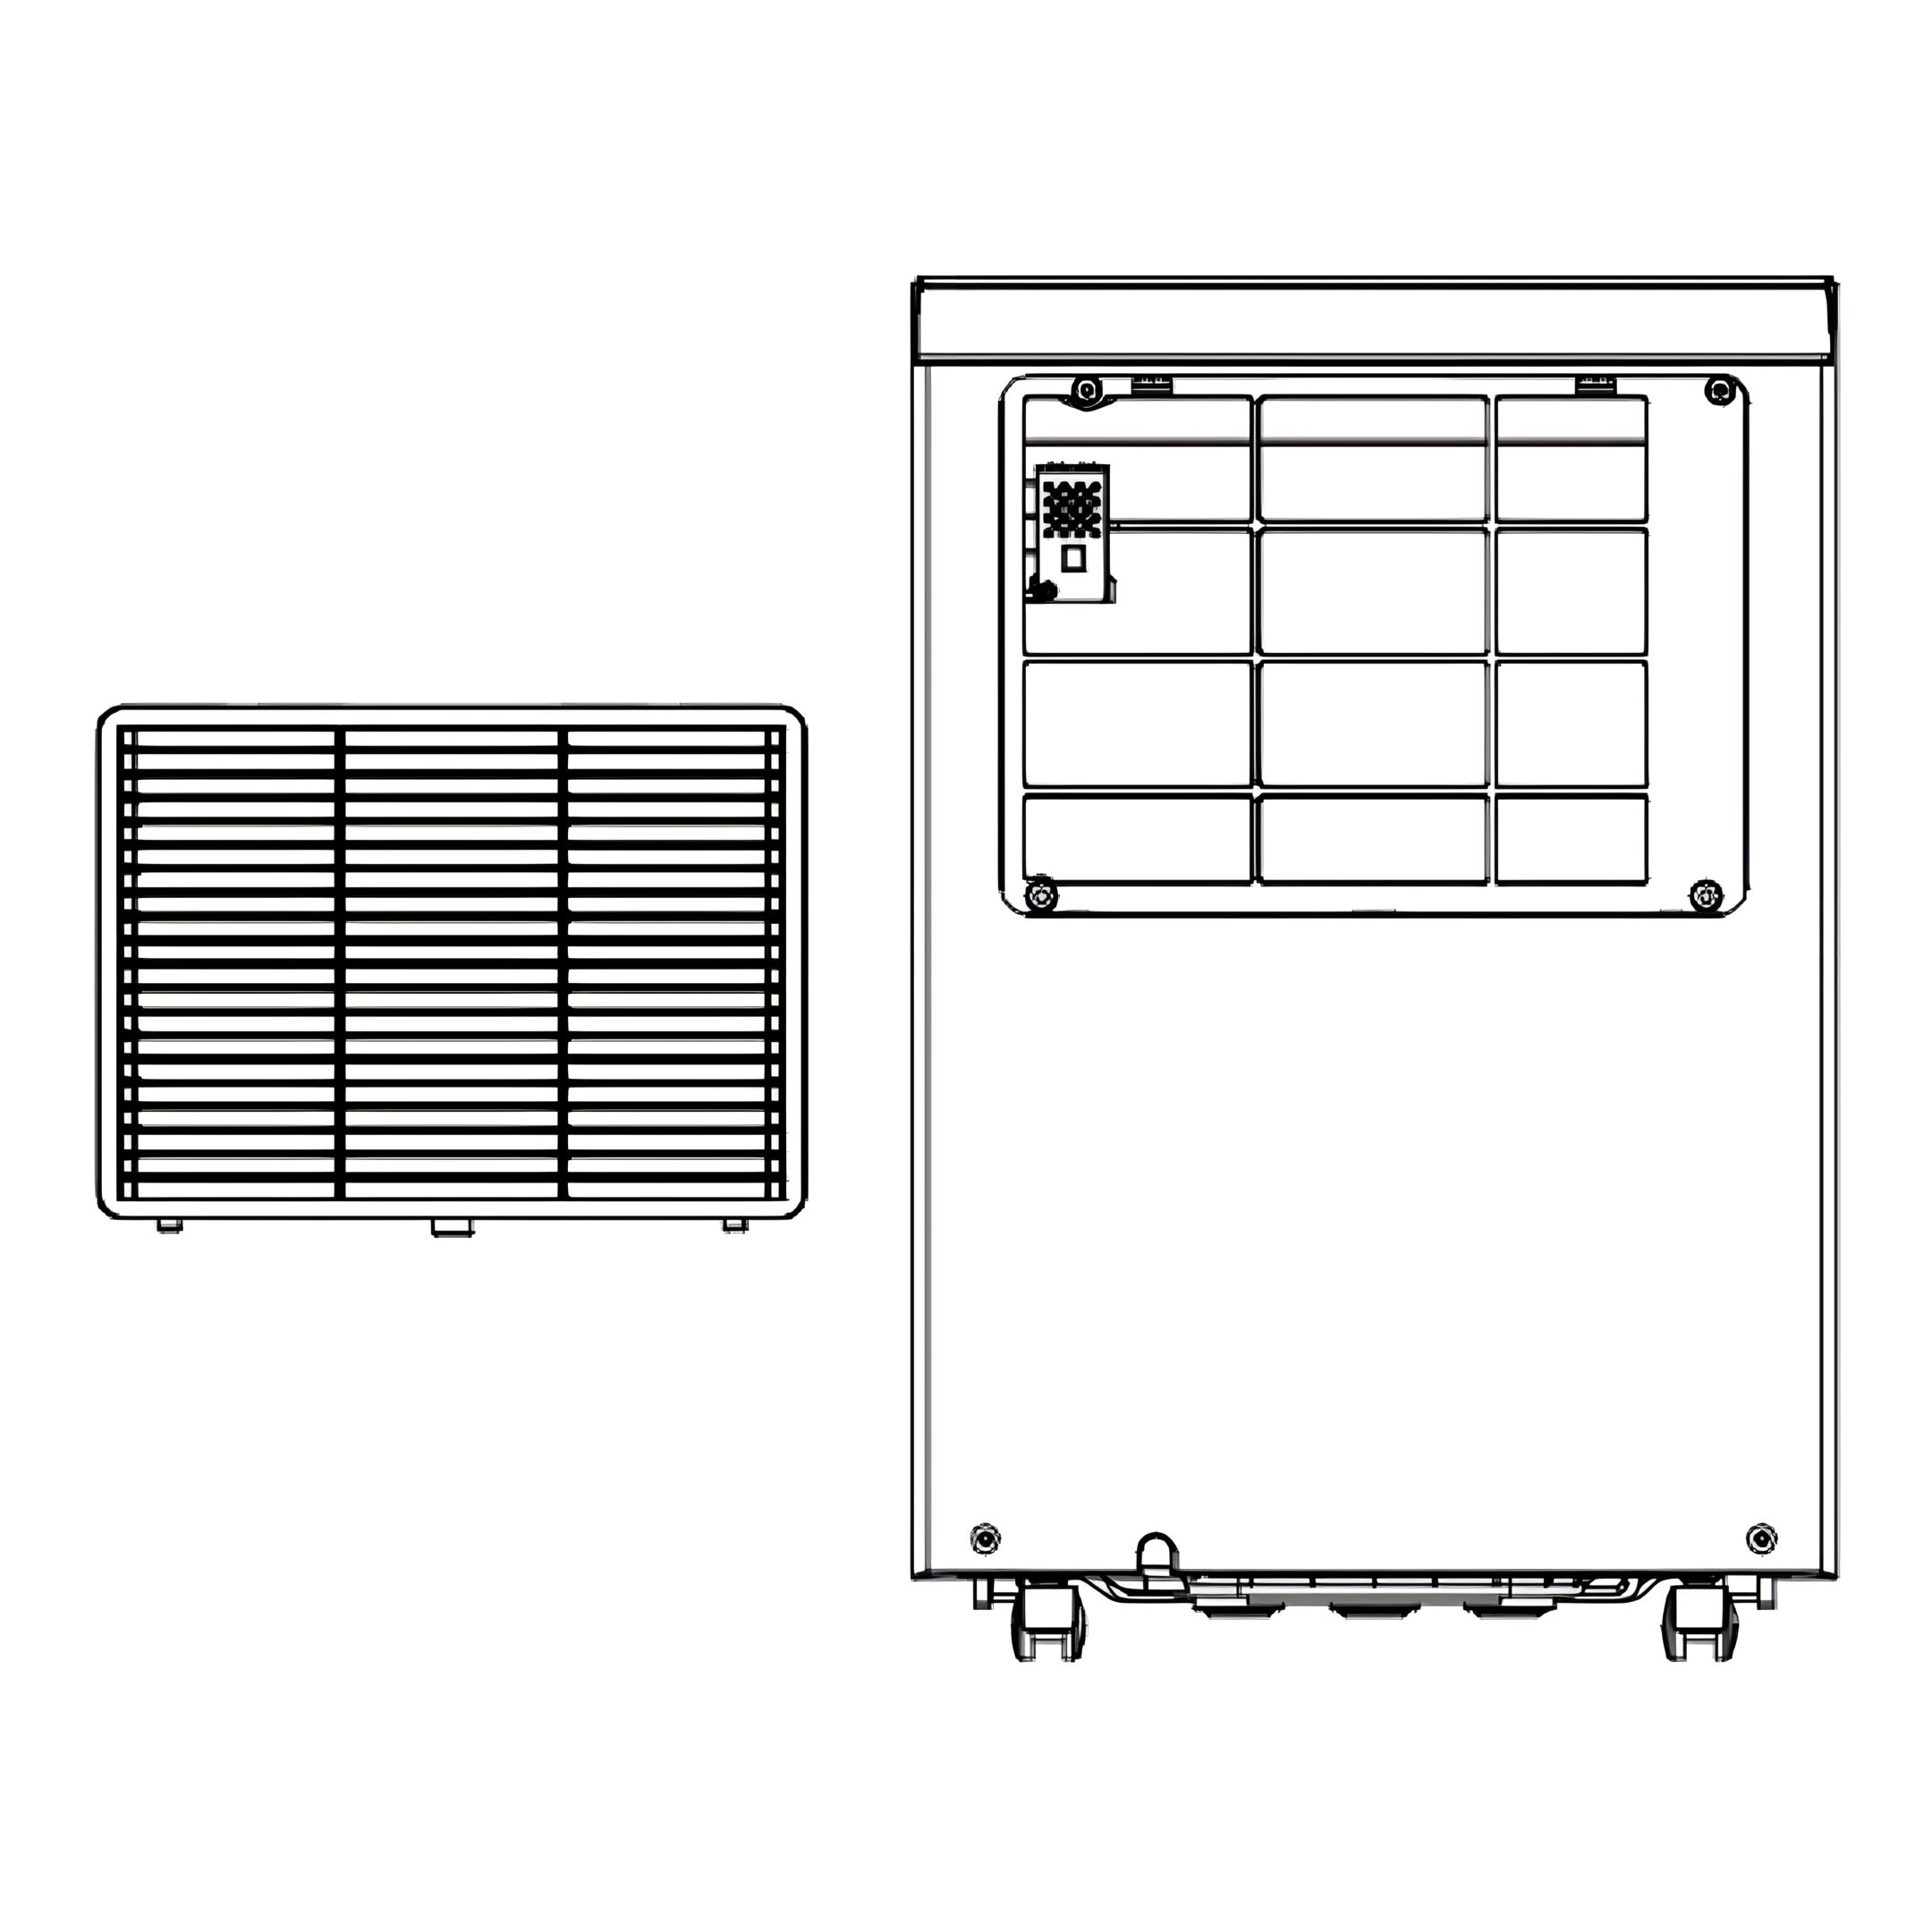
18. Remove Air Filter
Remove the water tank from the unit.
Then pull out the air filter from the bottom of the rear panel.
19. Clean Filter
Use a vacuum cleaner to gently remove dust from the surface.
If the filter is heavily soiled, rinse it with clean water and a mild detergent.
Dry it thoroughly before reinstalling.
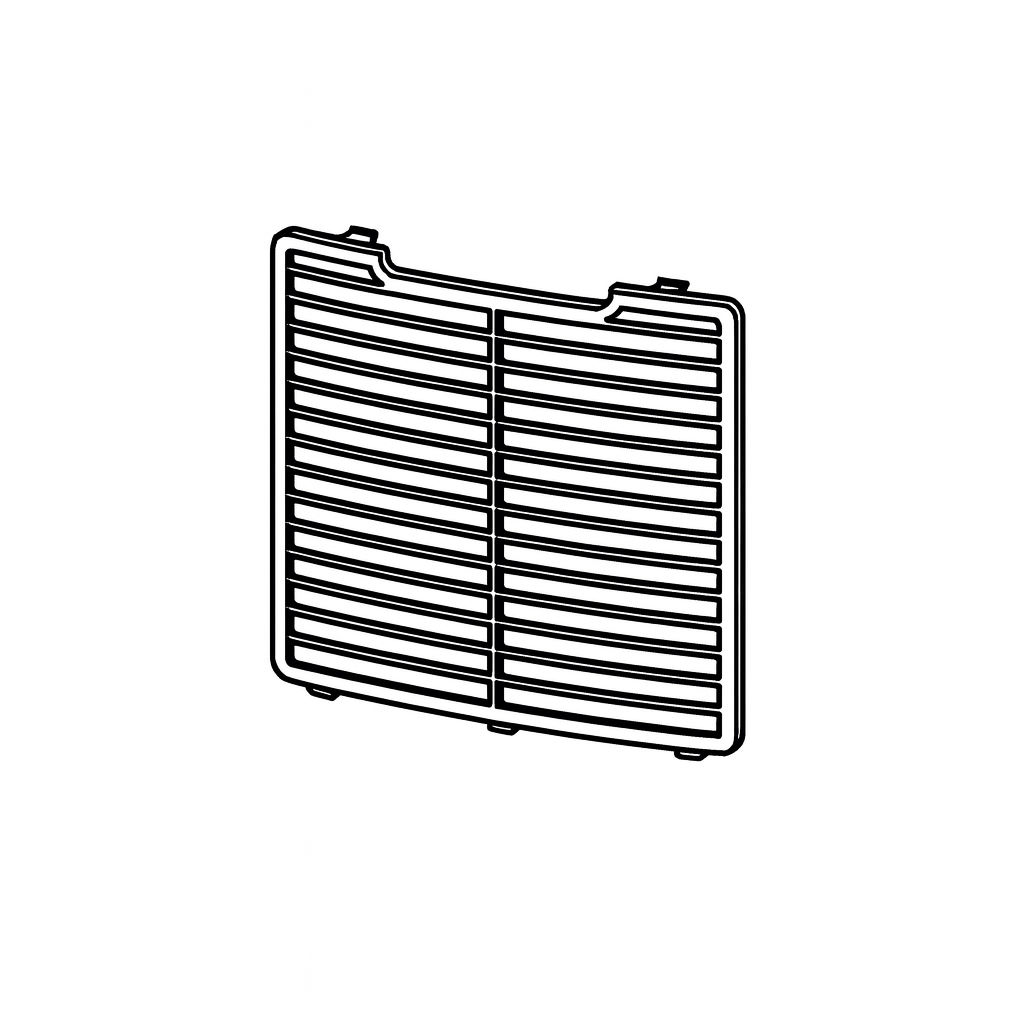
20. Reassemble Filter
Reinsert the filter securely into place.
Decommissioning
21. Long-Term Storage
If the unit will not be used for several weeks or longer, clean it thoroughly and let it dry completely. Then store it as follows:
Press power button to switch off and unplug the unit.
Drain the remaining water from the unit.
Clean the filter and let the filter dry completely in a shaded area.
Arrange the power cord at the water tank.
Reinstall the filter at its position.
The unit must be kept in upright position when in storage.
Store the unit indoors in a dry, ventilated, non-corrosive and safe place.
22. Attention
Before storing the unit, make sure the internal evaporator is completely dry to prevent mould and damage.
Option 1: After unplugging, place the unit in a dry, open space for several days to air-dry naturally.
Option 2: While still powered, set the target humidity at least 5% higher than the ambient humidity. This will keep the fan running to dry the evaporator over a few hours.
Troubleshooting
23. Functioning Temperature
Operating temperature range: 5 to 35 degrees Celsius
If the ambient temperature is outside this range, the unit stops automatically.
Between 5 and 16 degrees Celsius, the compressor defrosts periodically. During defrosting, the fan keeps running and the compressor pauses.
24. Before Calling for Service
Check the following common issues before requesting service. These are not caused by product defects.
25. Unit does not operate
Causes:
No power supply
Water Full Indication Flashes
Room temperature < 5 °C or > 35 °C
Solutions:
Connect to a functioning outlet and switch on.
Drain water tank and reset it, or re-position the water tank correctly.
Self-protection mode: the unit cannot operate under such temperatures.
26. Poor performance
Causes:
Air filter is clogged
Intake or discharge duct is obstructed
Solutions:
Clean the air filter as instructed
Remove the obstruction from the discharge duct or intake duct.
27. No air intake
Cause:
Filter is clogged
Solution:
Wash the filter
28. Loud noise during operation
Causes:
Unit is not placed on a flat surface
Filter is clogged
Solutions:
Place the unit on a stable, flat surface
Wash the filter
Previous stepCopy link to sharePrint / PDFNext step